
Begin by opening the plan that contains features you want to report on. Verify that the plan has a hierarchy of three or more layers by choosing the Advanced tab under Redistricting>Settings>Plan Settings (click OK when finished). Then do the following:
- Export the plan as “Layer Hierarchy Components” using Redistricting>Plan Utilities>Export Plan. We recommend naming the output file PlanName-Hierarchy (where PlanName is the name of the plan that is open).
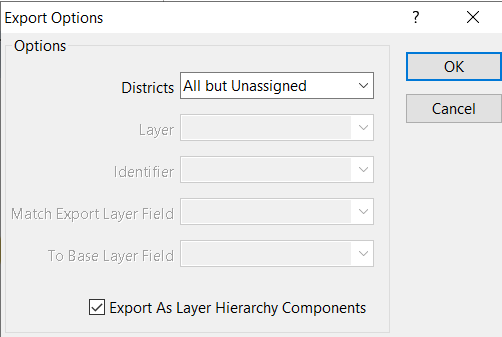
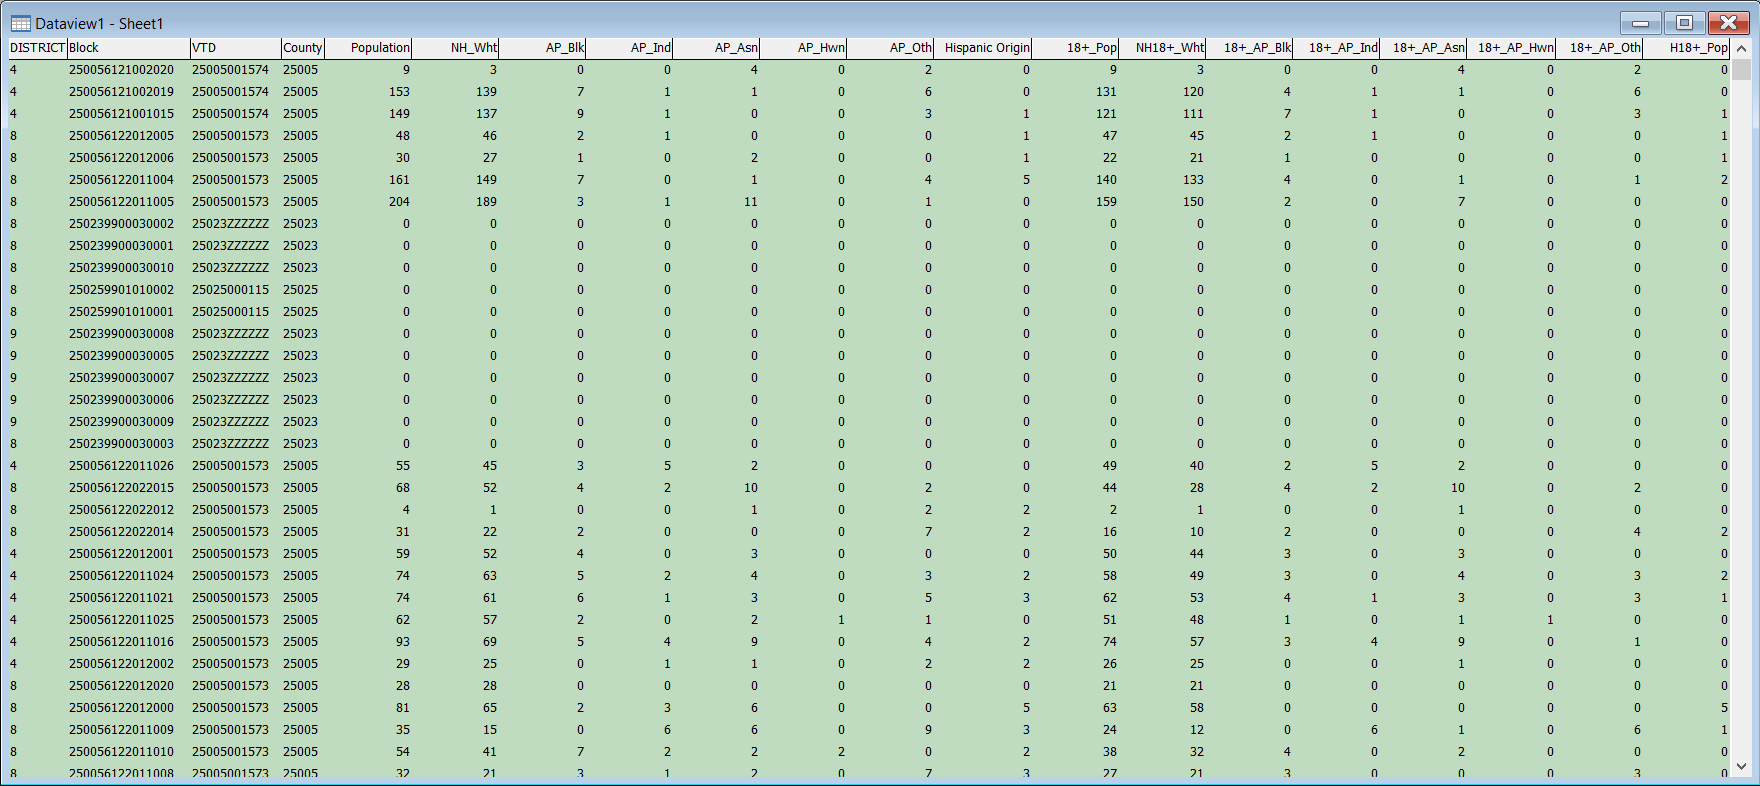
- The resulting dataview contains the District number, the FIPS codes for each of the layers in your hierarchy (BLK, VTD, and County in the example below), control field data, and summary fields used in your plan.
- Close your plan.
- In this example, we want to report on split voting districts. Create a formula field in the dataview by choosing Dataview>Formula Fields and enter the following:
DISTRICT + “-” + VTD
Name the new field VTD Split and click OK. **If you want to report on another layer of your hierarchy, choose the appropriate field name and use it instead of VTD; name the formula field accordingly.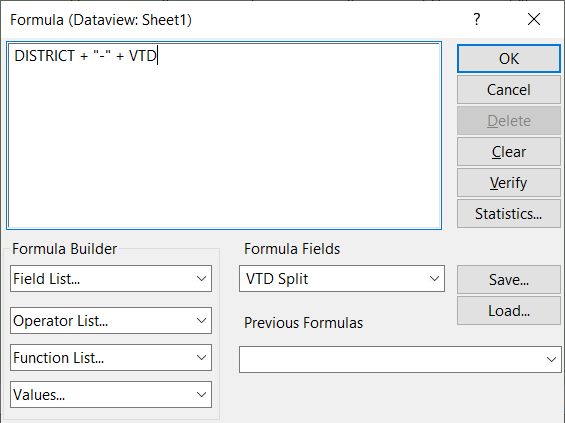
- Next, select only those features that split a VTD. In this example, the base layer of the plan is Block. Any time a voting district is split, the Block field contains a block code. We only want to use the voting district splits, so create a selection set of those features by choosing Selection>Select by Condition and entering:
Block <> null
Click OK.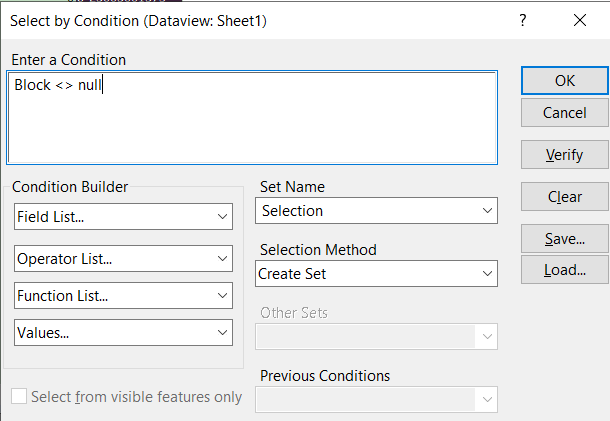
- Choose File>Save As to save the selected features. Change Files of Type to Fixed Format Binary (.bin). Name the file PlanName-VTDSplits (where PlanName is the originating plan, and VTD is the hierarchy that is split).
- Choose File>Close All to close all windows.
- If you do not have a base map that incorporates your hierarchy layers, create one. For the example, create a map with Census Block, Voting District, and County layers. Alternately, if you typically create a new plan from a template, you may skip this step.
- Create a new redistricting plan by choosing New Plan from the Plan Manager (Redistricting>Plan Manager>Plans tab>New Plan). If you created a base map in the step above, click OK. If you would like to use a different base map, click the Choose button and browse for the file. If you typically create plans from a template, choose the template option and select the template. Be sure to check the Import Assignments box if you are using a template. If you are using a map, you select this option later. Click OK after making your selection.
- Enter a name for your new plan. We recommend PlanName-VTDSplitsPlan (where PlanName is the name of the original plan and VTD is the hierarchy layer you are reporting on). Click Save.
- If you are used a map to create your plan, select the base layer (Census Block) in the Plan Settings dialog box and check Import Assignments. If you are using a template this dialog box will come up automatically.
- Choose “Import from equivalency file” in the Import Settings dialog box and browse for PlanName-VTDSplits that you created in step 6.
- Choose the base layer, import layer, and district fields as follows:
Base Layer Field: Block
Import Layer Field: Block
Fill District From: VTD Split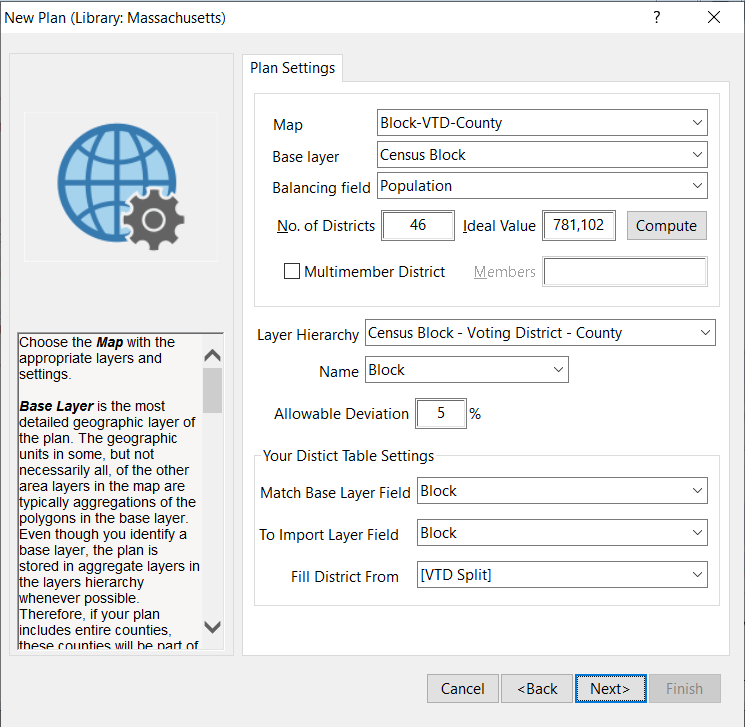
Click OK. If you created the plan from a template, the plan will open. If you created the plan from a map, enter the plan settings (number of districts, summary fields, and Census Block-Voting District-County or other hierarchy if appropriate). Click OK when finished. - The Redistricting Toolbox displays the District-VTD split code for each split VTD. You can use the redistricting toolbox as you would for any plan to navigate around the map.
- You can report on all splits or create a selection set to report on.
- The Metes and Bounds report requires that the County layer (ccCounty.cdf) and TIGER/Line Segment layer (ccTIGERLine.cdf) be on your map. Check Map>Layers to verify that these layers are present.
- Run the Metes and Bounds report on the [selected] VTD splits by choose Redistricting>Reports>Metes and Bounds. If you would like to run the report on only selected splits, choose the set from “Report on”. Click OK.
- Adjust the Metes and Bounds settings as desired. Click OK when finished. Maptitude for Redistricting creates a Metes and Bounds report that describes the boundaries of each District-VTD Split in the plan.