The Color Theme wizard in Maptitude allows you to save and load color themes. This can be especially useful when you have created a custom theme using logos or image files and you don’t want to recreate this every time.
This article will go over how to create a theme with custom icons, save it and then reapply to a new layer. Note that the field that the theme is applied on needs to have the same name in the new layer.
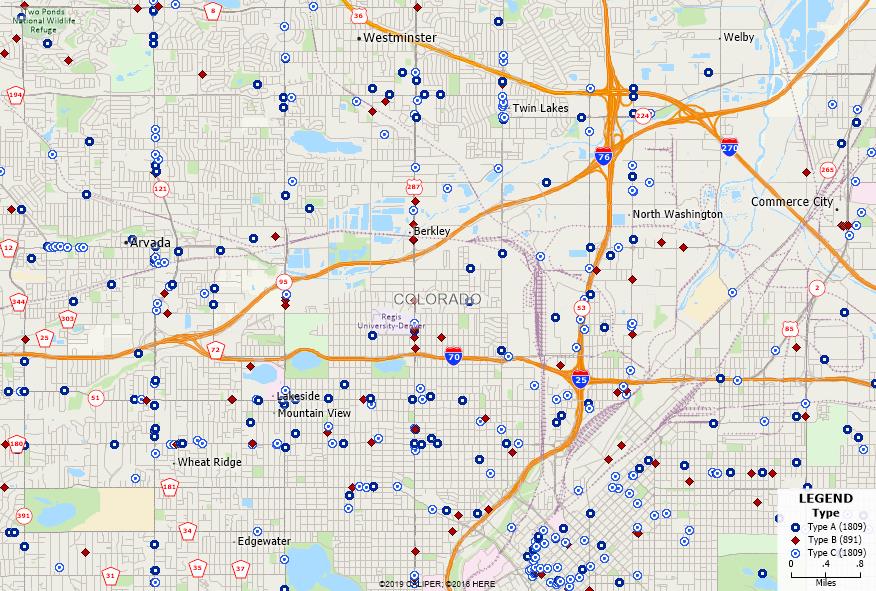
In these steps I have a layer with a field called Type that divides the layer into Type A, Type B, and Type C.
Part 1: Create the Custom Theme
- Make the point layer you want to create the theme for the working layer
- Click
 in the main toolbar
 - From Field, choose Type and make sure the Method is List of Values
- Click Apply. Your points will be colored depending on their Type
- Go to the Styles tab
- For each class, highlight the class name and click Style…
- Click Color Image, then click … then click the icon you want to use for that class and click Click OK
- Repeat Steps 6-7 for each class
- When you are happy, click Apply to see the theme applied
- Go back to the Settings tab and click Save…
- Save a settings file in an appropriate location
- Give the Theme a name, e.g. Type Custom Color and click OK
- Click OK to return to the map.
Part 2: Reapplying the Theme
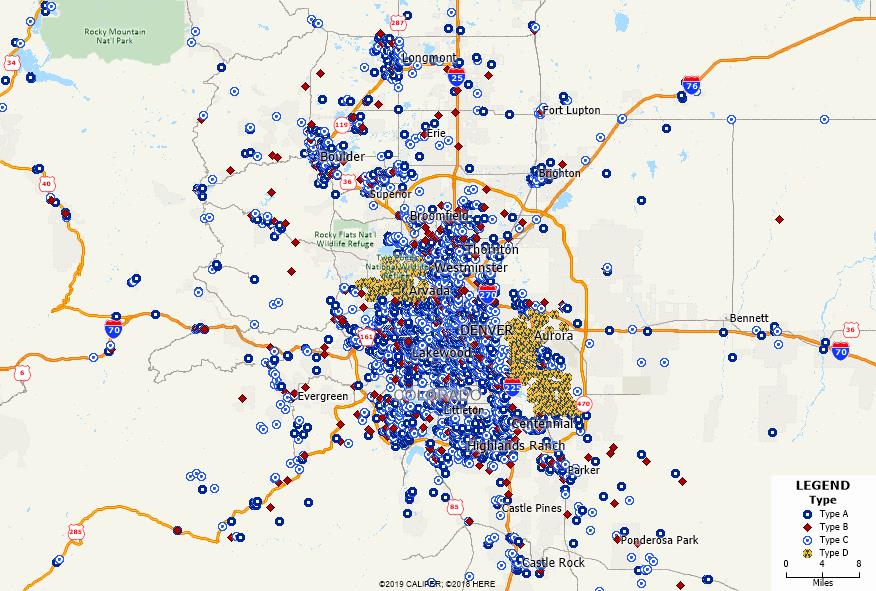
Now consider that we have started on a new map and have a new layer called New Customers. This is a similar setup to the original layer, but there is an extra type of point, Type D. I want to reapply the theme and then edit it so I only have to customize Type D. The key thing about this new layer is that the Type field has the same name
- Make New Customers the working layer
- Click in the main toolbar
- Click Load…
- If necessary choose From Settings File and browse for the settings file saved in Step 11 of part 1
- Select the correct theme, e.g. Type Custom Color and click OK
- Click This apply the previous customization, but all of Type D will be in the Other category
- Click Customize
- Increase # of Classes by one, and highlight the class None (0) that appears
- Under Class Settings set the value to Type D
- Click The Type D points will be given the same icons as Type A
- Go to the Styles tab and customize the icons for Type D as before
- Go back to the Settings tab and click Save…
- Give the Theme a name, e.g. New Type Custom Color, or save over the old theme and click OK
- Click OK to return to the map
This will reapply the theme with the custom settings for Type D added. You can apply this theme to any layer with a field called Type. You will only need to customize the theme if new Types appear. If all the Types in a layer are already covered, skip steps 7-11.