You can create a glow map using any point layer. You can also create a point layer from any area layer that can subsequently be used in a glow map.
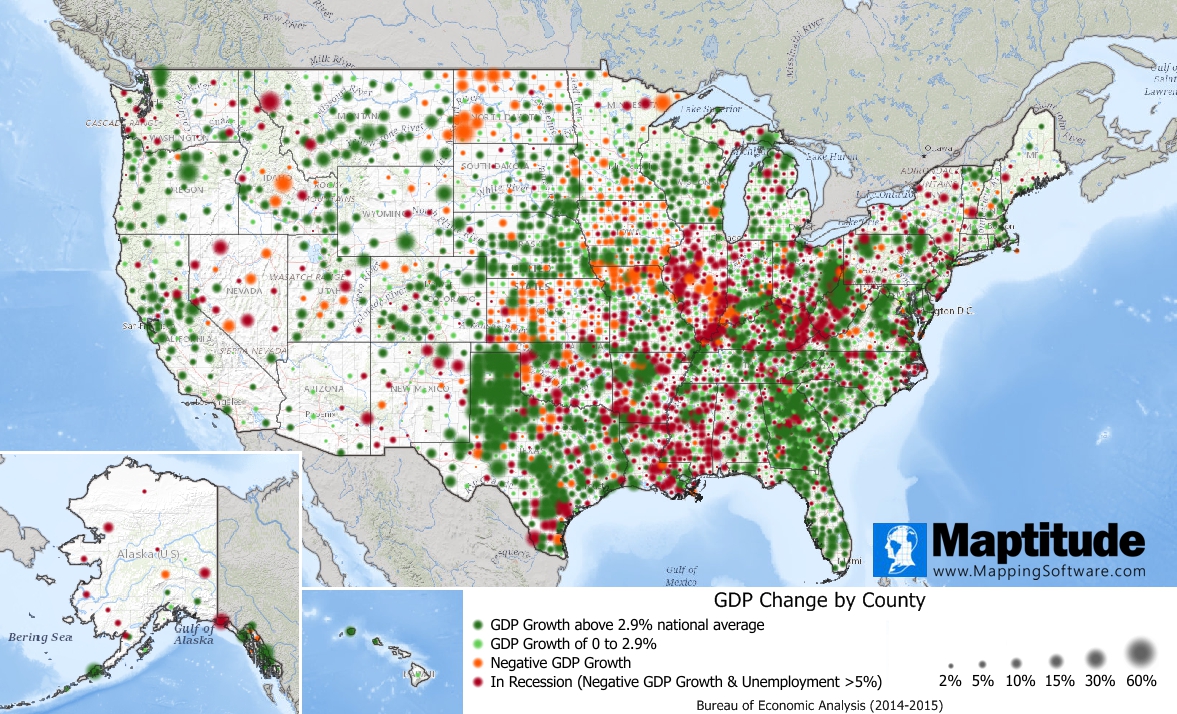
The following steps outline how to create a point layer from the county area layer and add a glow map to it:
- Make the County layer the working layer in your map.
- Choose File>Export>Geography to display the Export Geography dialog box.
- Type a name in the Layer name edit box (e.g., County Centroids), check the Include Built-in Data, Add layer to map, and Export as Centorid Points boxes, and click OK.
- Enter a name for the new layer and click Save.
- Make the new county centroid layer the working layer.
- Choose Map>Thematic Mapping>Color to display the Color Theme dialog box.
- Choose a field, such as Change in GDP, and the number of classes, then click the Styles tab.
- For each class, click Style to display the Style dialog box, choose the Color Image option from the radio list, click and choose one of the glow icons (glow*.ico), and click Open and OK.
- Click OK when you are done choosing glow icons for all of the classes.
- You can optionally scale the size of the icons by choosing Map>Thematic Mapping>Size, choosing a field, and clicking OK.