Welcome to Maptitude for Redistricting! Whether you have just downloaded the software for the first time, or you are a longtime user who recently upgraded to the latest version, this article aims to get you started on the right foot with the Maptitude software.
NOTE: this article deals with using the software itself once you have successfully installed and activated. If you are having issues with download or installation, please take a look at our Download/Installation/Activation Help pages.
First Things First
Familiarize yourself with the Best Practices for using the software. These will help you get off to an easy start.
The main tutorials page for the Maptitude software can be found here. We recommend people starting off with the Adding a Plan Library video, which introduces the main interface.
Other important videos that deal with how to use the software in general, instead of focusing on a specific use case are:
- A Demonstration of Maptitude for Redistricting
- Adding a Plan Library
- Moving Around a Map
- Using the Display Manager
A Broad Overview with a Hands-On Approach
For some users there is nothing better than getting a hands-on look at the software as a way to learn what it has to offer. Included with your Maptitude for Redistricting installation is:
- A Tutorial Folder filled with a variety of supplemental files
- A Help Guide containing a Tutorial Chapter with step-by-step instructions for using all of the main tools in the software
If you want to try this out:
- Open the Maptitude for Redistricting software and go to Help>Maptitude for Redistricting Help
- In the Table of Contents on the left, choose Tutorial.
- Work through the parts of the tutorial you feel are useful.
Tutorial Videos
The tutorials page linked above is great if you know exactly what tool you are looking for, but the terminology can be a little daunting the first time you open the software and you don’t know exactly what you are looking to do.
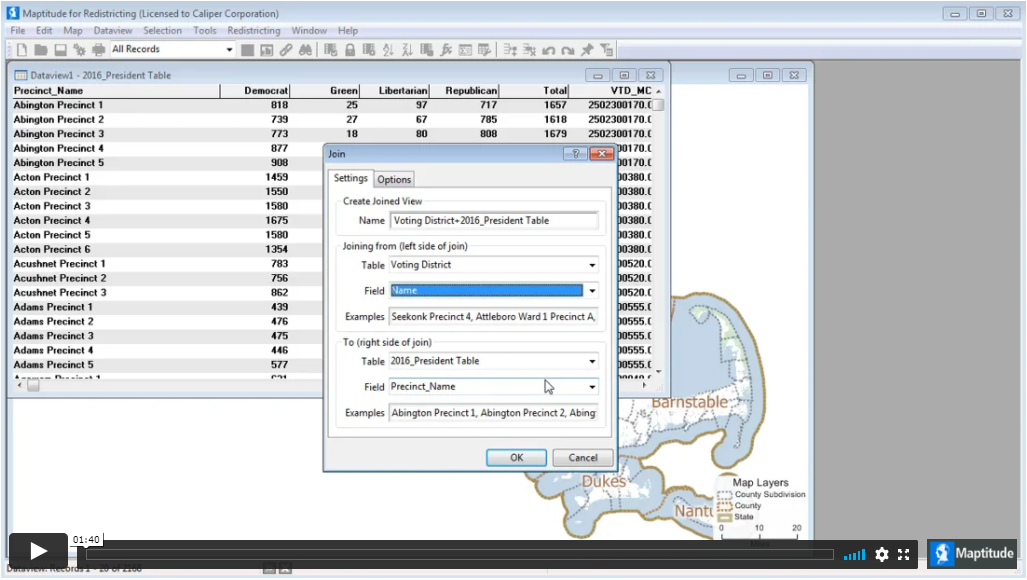
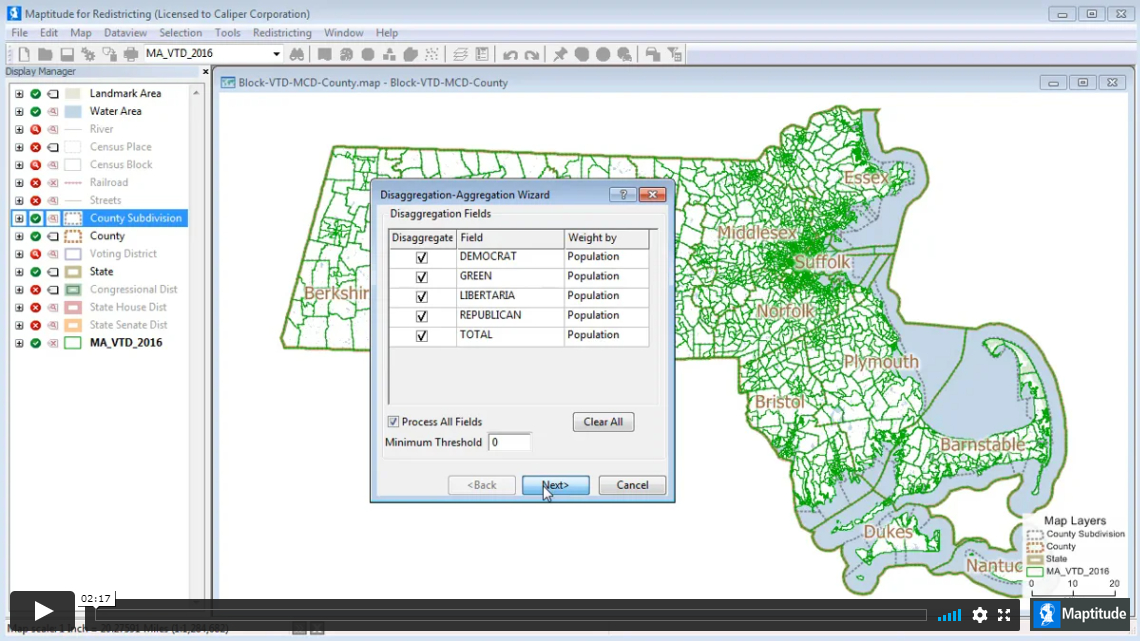
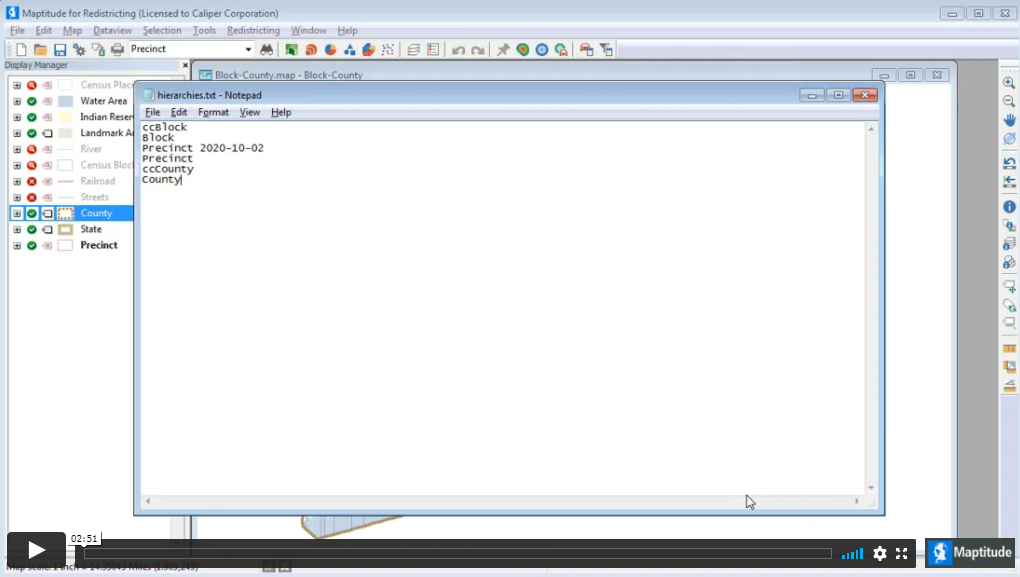
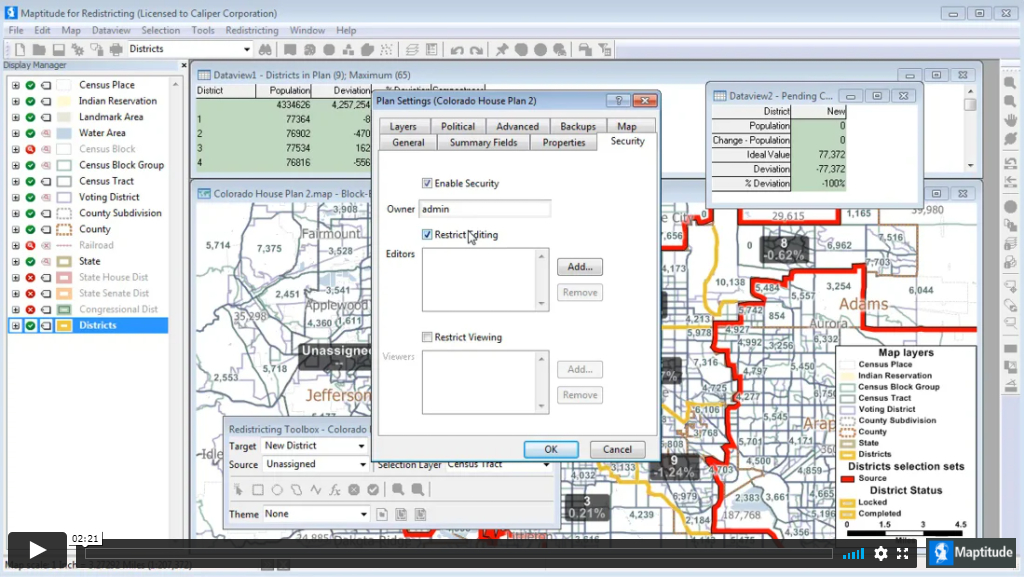
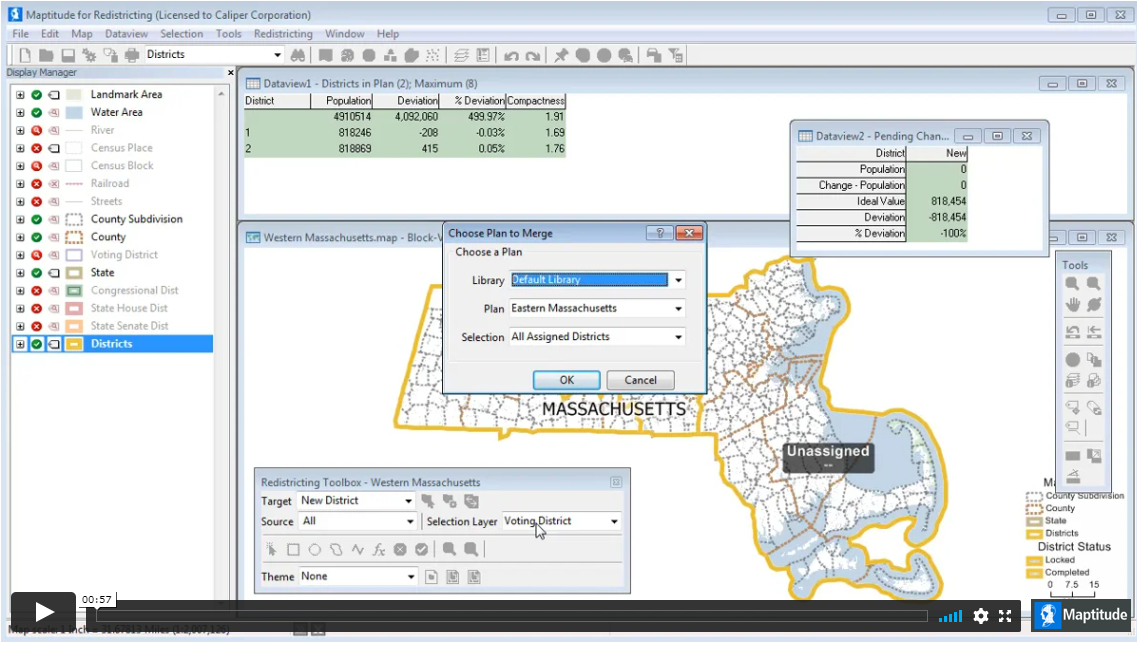
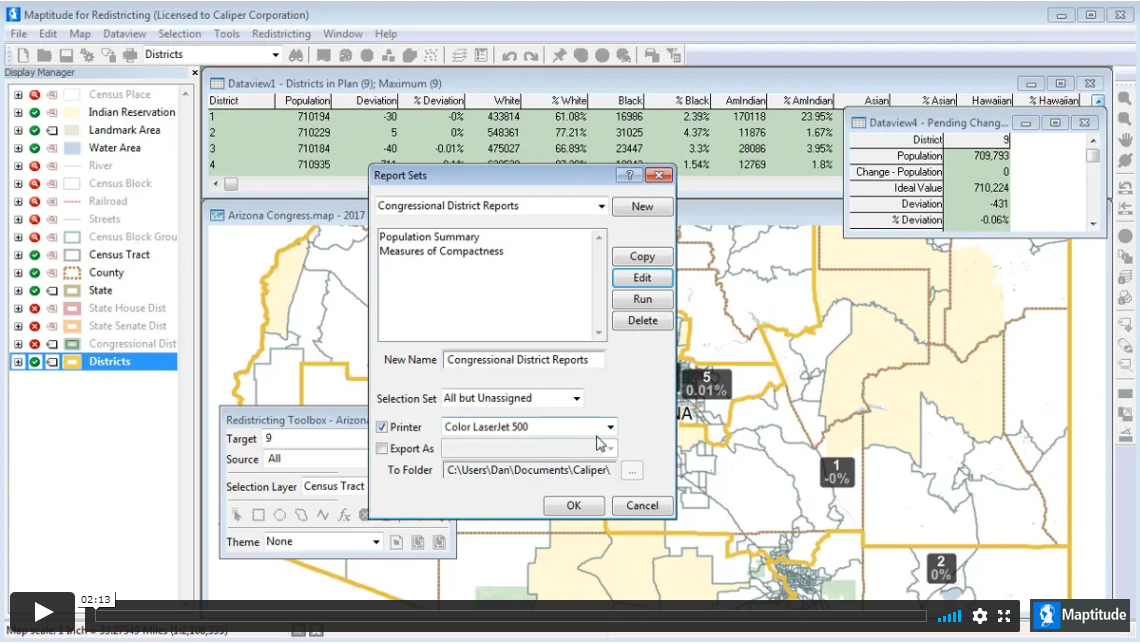
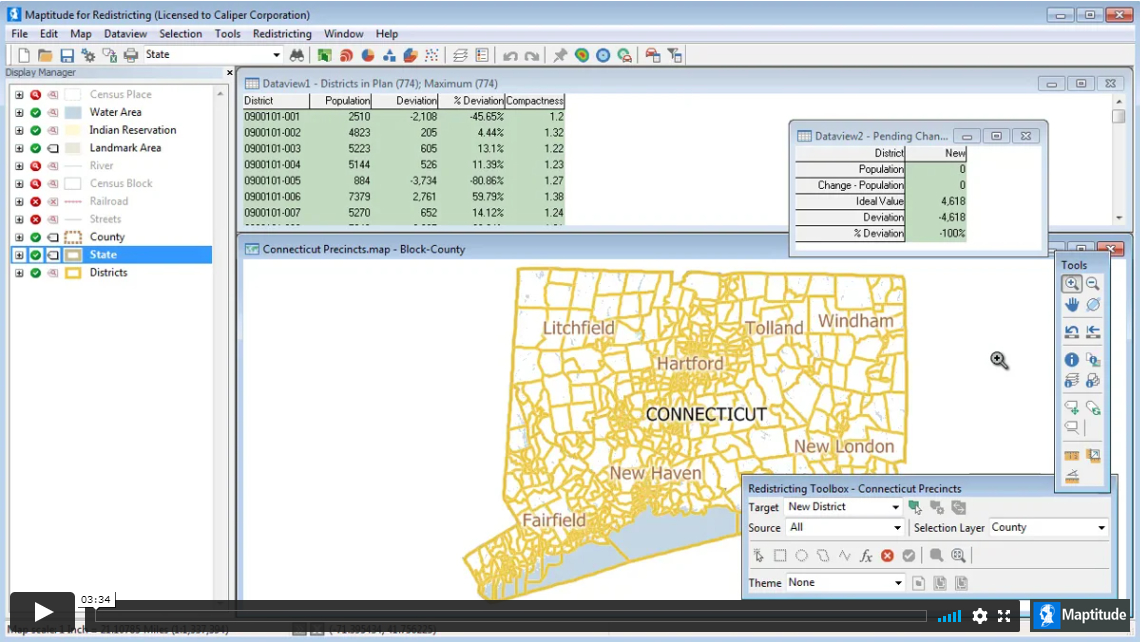
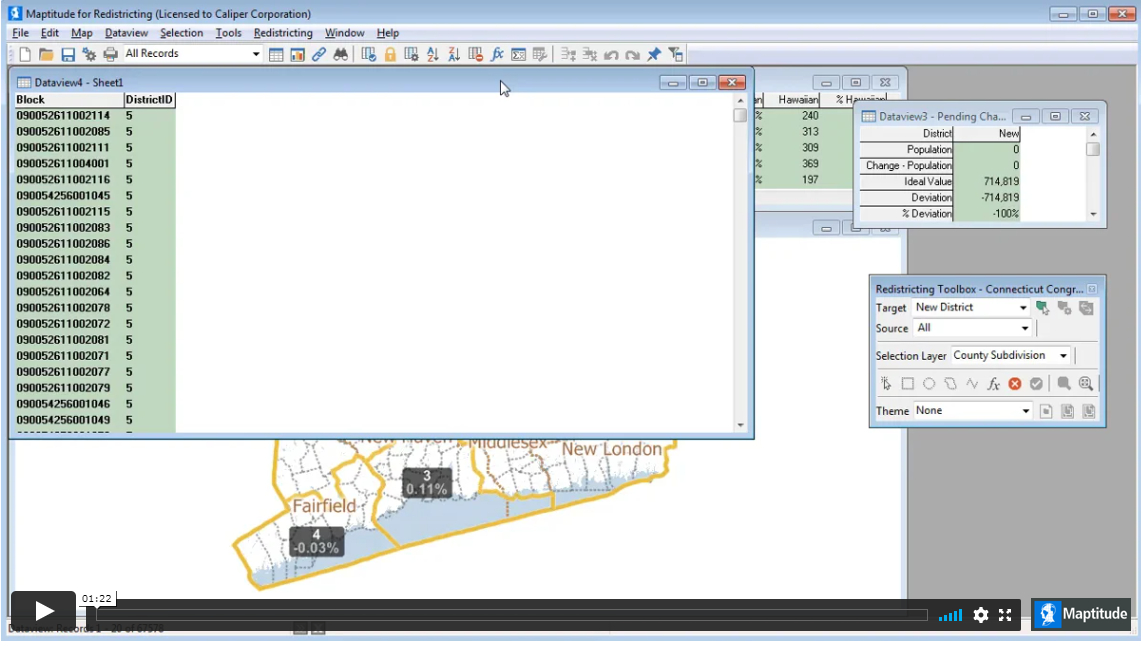
This next section hopes to alleviate some of that confusion by showcasing some of the types of maps you can create in Maptitude for Redistricting, and linking to the tutorial you will need. Most of these tools can be used in conjunction with others so if you want to do multiple types of the mapping discussed you can follow the steps in one and then follow on with the steps from another video.
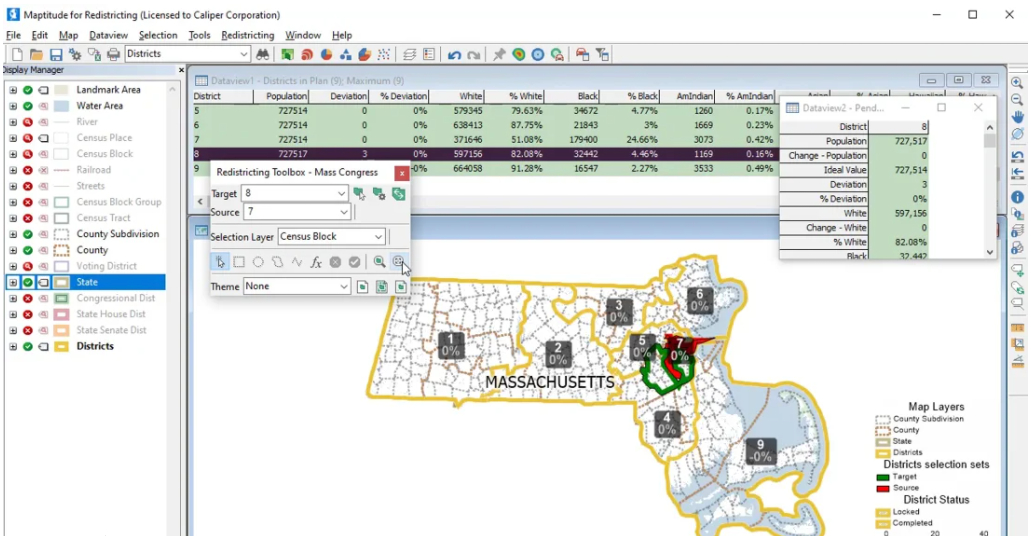
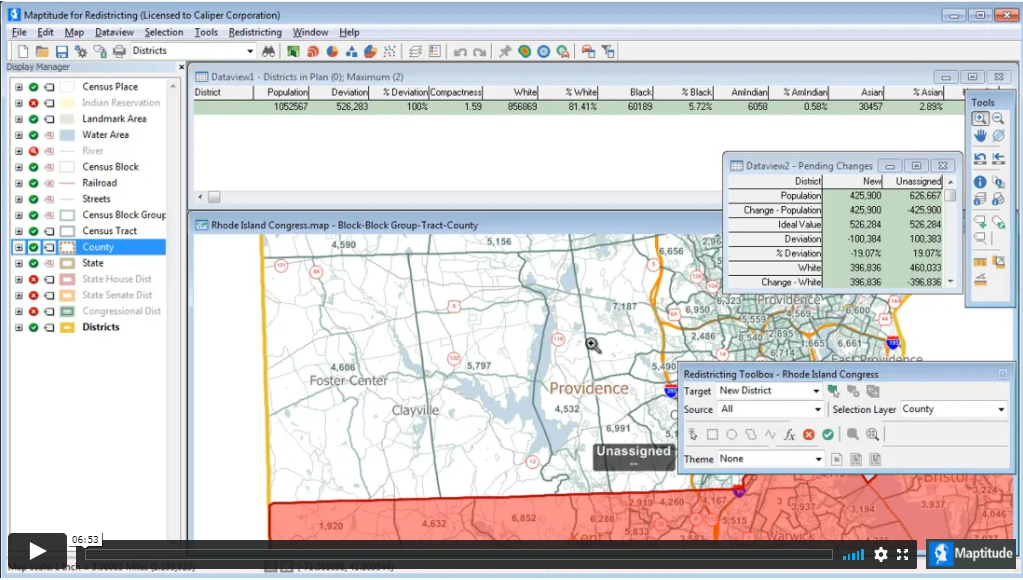
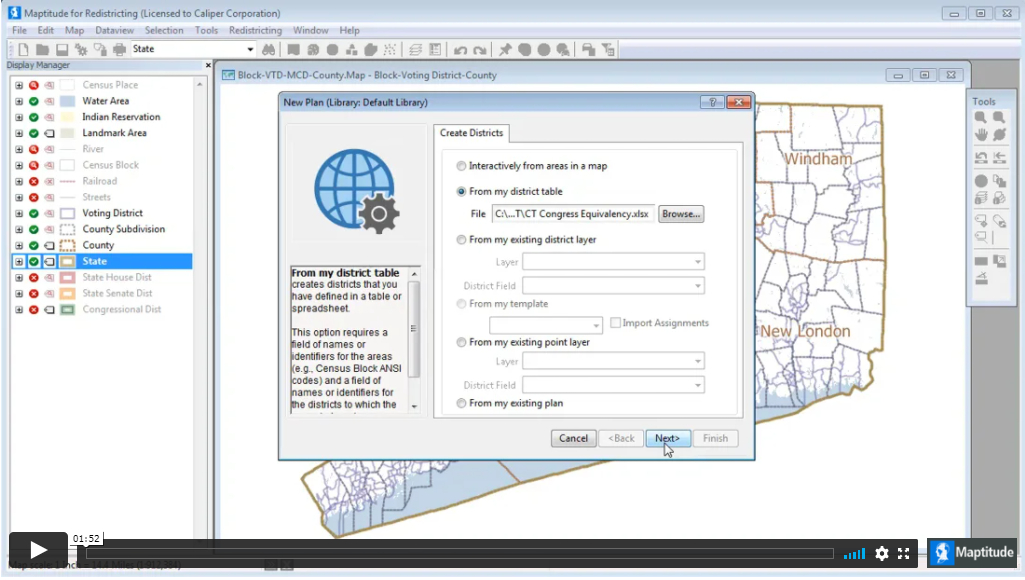
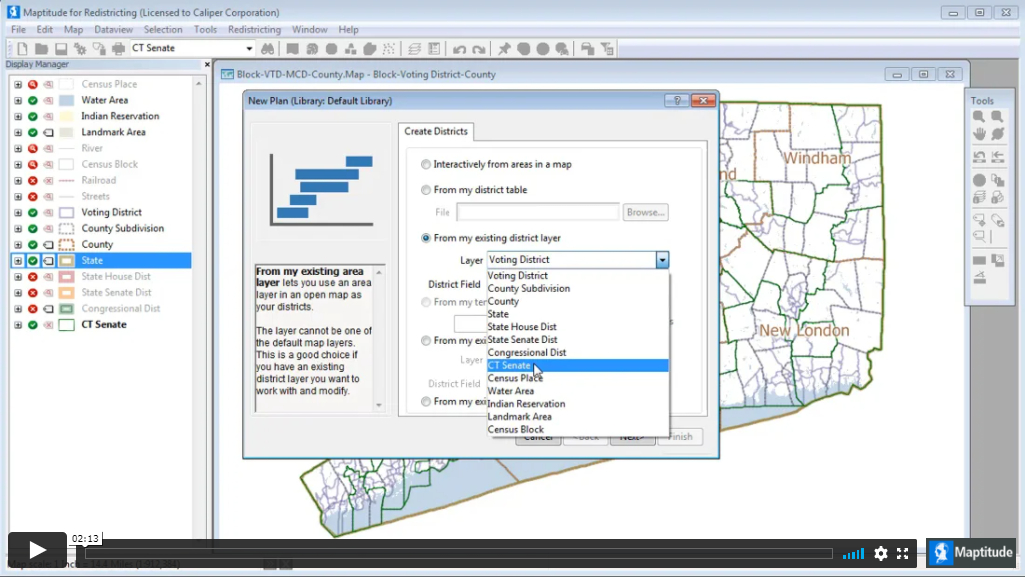
If you want to conduct a task like the one in the image, click on the title above that image to go to the tutorial for that task.