
Author: Max Bahar

In franchise management, where geographic insights are extremely important, franchise mapping software enables franchise owners and managers to strategically plan, visualize, and optimize their locations and territories. By analyzing a variety of criteria such as an area’s target demographics, accessibility, and local competition, you can ensure that your franchise locations and territories are set up for success. Maptitude mapping software offers robust tools and features tailored to the specific needs of creating and managing franchise locations and territories.
Now that we understand the importance of utilizing geographic analyses for franchise mapping, we can explore some examples of using Maptitude mapping software to define franchise locations and territories.
Before trying the steps below, you can request a free trial of Maptitude mapping software.
When mapping a franchise location with Maptitude, you can follow these tips to ensure that you are strategically evaluating your franchise's location.
A good franchise location is usually characterized by a combination of factors. Look for areas with a high concentration of your target customers, assess the local economy and business environment, and consider the accessibility of the location. Maptitude mapping software can assist you in evaluating these factors, allowing you to make informed decisions about the best franchise locations.
Maptitude assists in evaluating the suitability of locations by overlaying target market and demographic data. Define your target market clearly and use the Maptitude mapping capabilities to study the demographics of different areas. This way, you can identify locations that align with your franchise concept and have the potential to attract the right customer base.
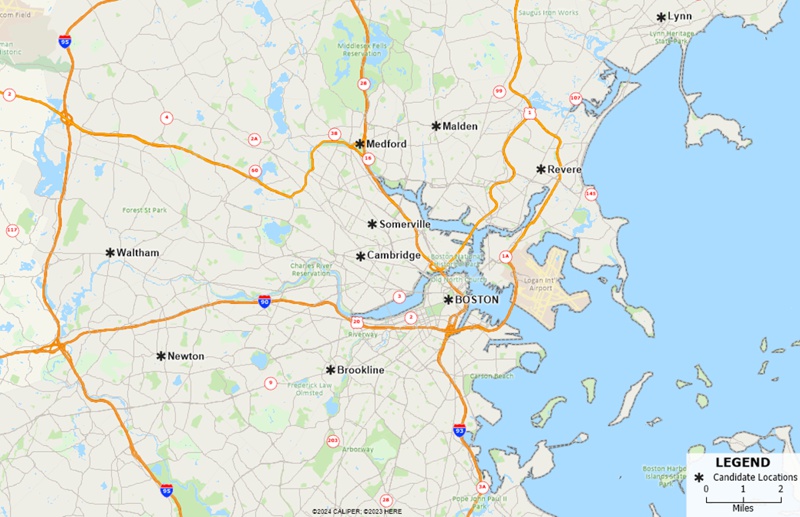
For example, the facility location tool can use your target demographics by zip code as the demand for your locations.
By integrating the Maptitude mapping tools with these tips, you can streamline the process of mapping and determining franchise locations, ultimately helping you make informed decisions about selecting the best locations for your franchise.
For another example utilizing the demographic data in Maptitude to find the best location for a business, please see the tutorial article on finding the best intersection for a new site location.
Mapping a franchise territory with Maptitude involves a few key steps. First, you’ll need to assemble relevant data such as demographic information, population density, and local business trends. Once you have your data, how do you determine a franchise territory? You can use the Maptitude mapping tools to visualize and analyze the information you’ve gathered. Maptitude allows you to overlay different layers of information on a map, helping you identify suitable territories based on your criteria.
As an example, we can consider creating territories for a fast-food restaurant franchise operating in the state of Massachusetts. We are interested in the following metrics:
Before you create your franchise territories, it is important to first collect data on the areas surrounding your franchise locations.
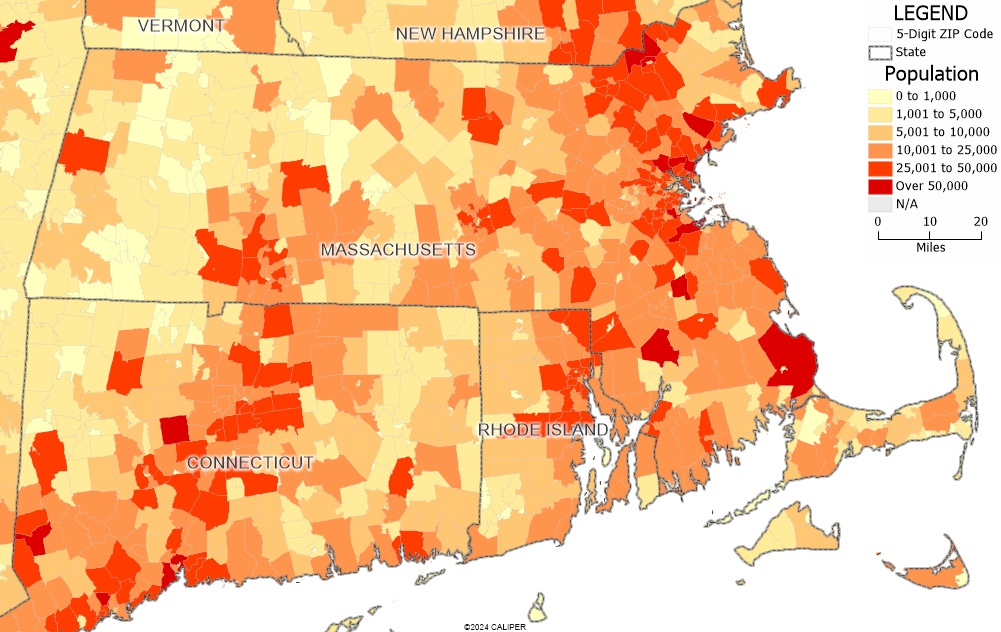
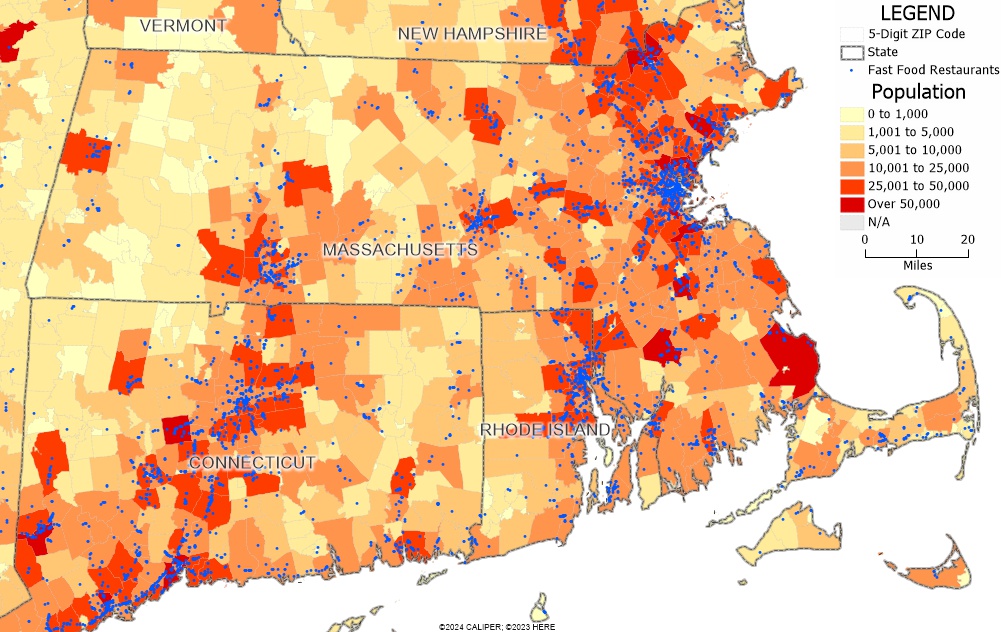
Step 1: Use the Map Librarian and thematic mapping to visualize demographic data.
You can use the Map Librarian to show different demographic fields in your area of interest. In our case, we can visualize Total Population at the ZIP code level in Massachusetts.
For more information on thematic mapping, please see the tutorial video on thematic mapping in Maptitude.
Step 2: Show additional demographics with hover fields.
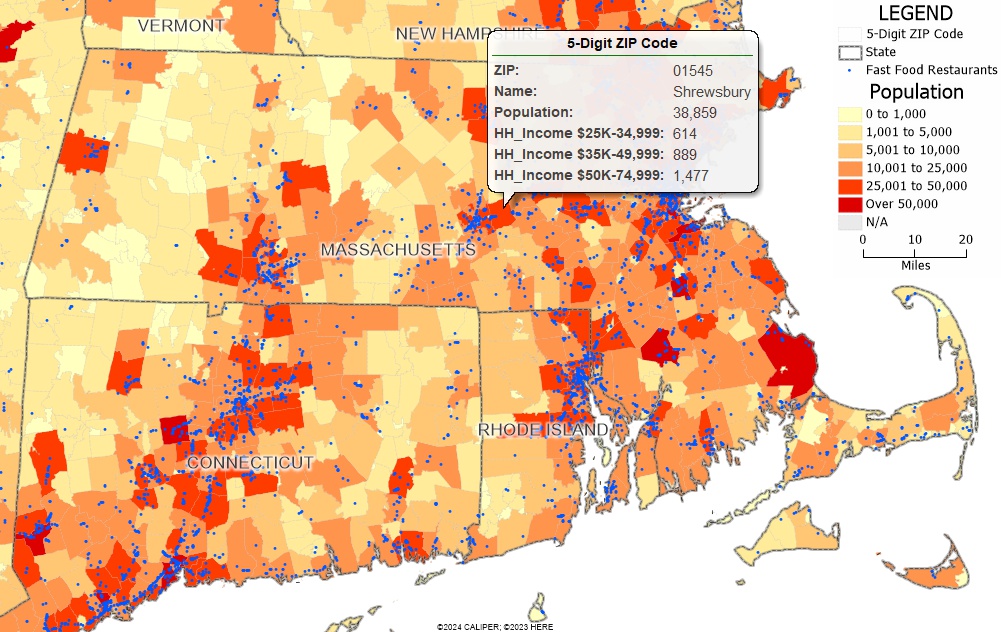
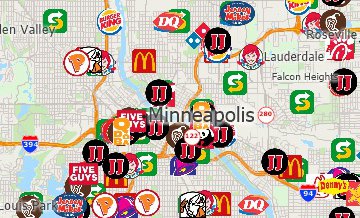
Step 3: Add competitor and existing locations to a map from the Maptitude business and landmark layers.
With the free data layers included with Maptitude, you can visualize and analyze the locations of competitors and other businesses in your industry to create the best territories for your franchise.
For more information on selection sets, please see the tutorial video on creating selection sets in Maptitude.
Step 4: Map your own data with the Create-a-Map Wizard tool.
You can use the Create-a-Map Wizard tool to add your own data to the maps and inform your franchise territory creation. These can vary from plotting your existing franchise locations on the map to attaching sales data to ZIP codes.

For more information on the Create-a-Map Wizard, please see the tutorial video on mapping your own data in Maptitude.
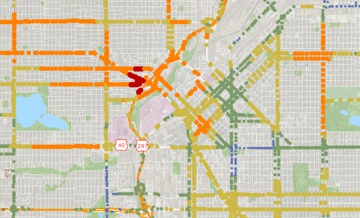
Maptitude provides various options for defining franchise territories, such as mileage radius rings, drive-time or drive-distance areas, and ZIP codes. You can customize your approach based on the specific needs of your franchise model.
To create radius rings, please see the tutorial video on creating buffers in Maptitude.
To create drive-time or drive-distance areas, please see the tutorial video on creating drive-time rings in Maptitude.
To determine franchise territories efficiently, you can leverage existing administrative boundaries like ZIP codes, townships, or states. Maptitude allows you to incorporate these boundaries seamlessly into your mapping strategy, making the process faster, simpler, and cost-effective.
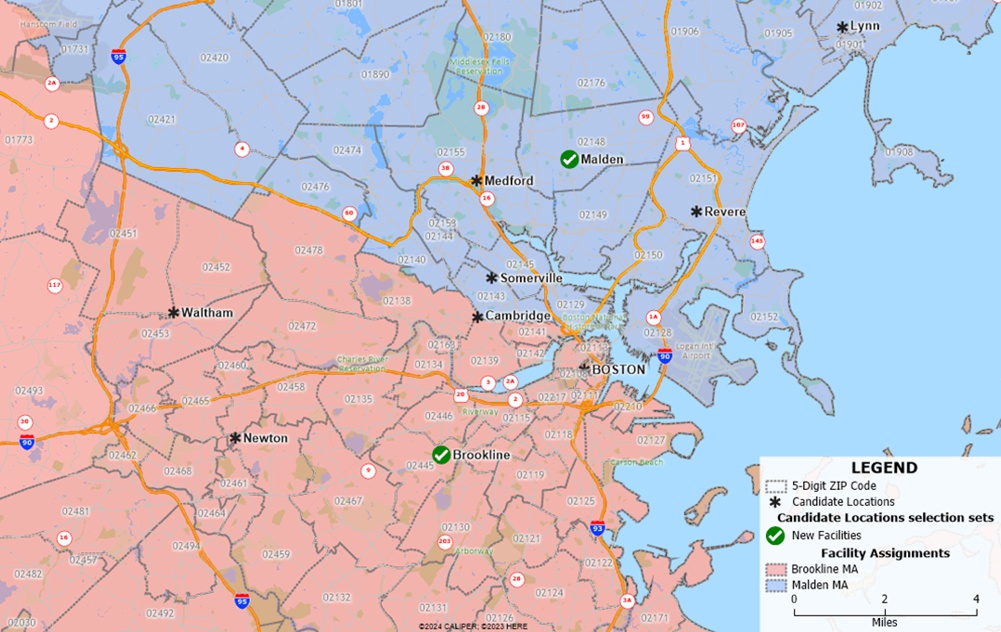
In our example, we can choose to create territories for our franchise using ZIP code boundaries.
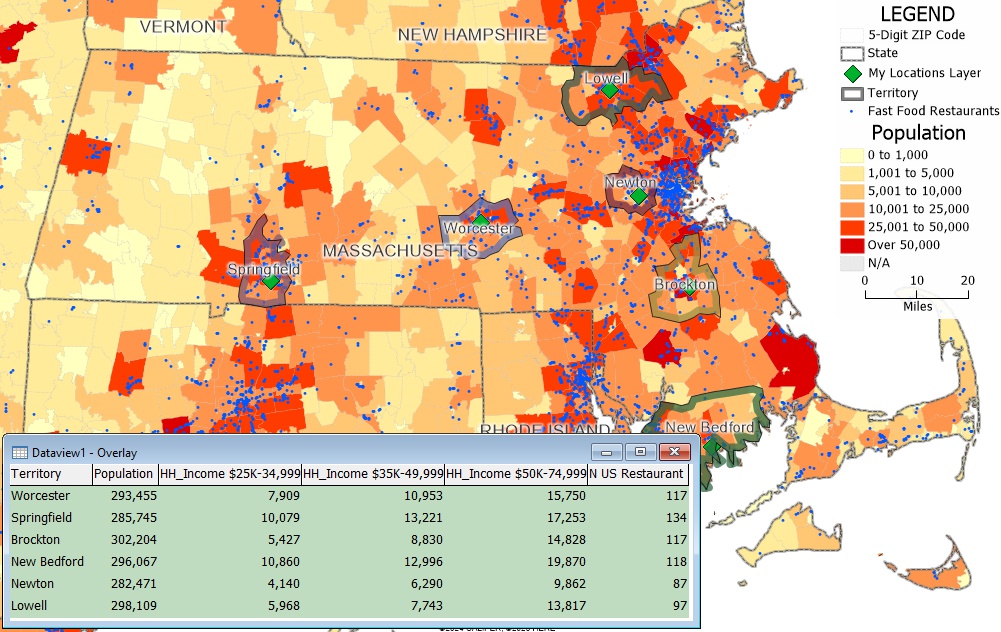
Step 5: Create territories.
The territory tools in Maptitude make it easy to create your own territories from scratch or from existing data.
For more information on creating territories, please see the tutorial video on creating territories in Maptitude.
For more information on managing territories, please see the tutorial video on working with territories in Maptitude.
Step 6: Calculate additional data for your territories.
If there are other data sources that cannot be added as Tracking Fields, you can choose to calculate them separately.
You can add information such as the number of businesses in each territory or the median household income for each territory.
For more information on configuring demographic reports, please see the tutorial article on using your own data in demographic reports in Maptitude.
By integrating the Maptitude mapping tools with these tips, you can streamline the process of mapping and determining franchise territories, ultimately helping you make informed decisions about selecting the best locations for your franchise.
Learn more about Maptitude to see how you and your team can benefit from mapping software for franchise planning!
Schedule a Free Personalized Demo

Home | Products | Contact | Secure Store
