| Mapping, GIS, & Transportation Software Solutions |
| Mapping, GIS, & Transportation Software Solutions |
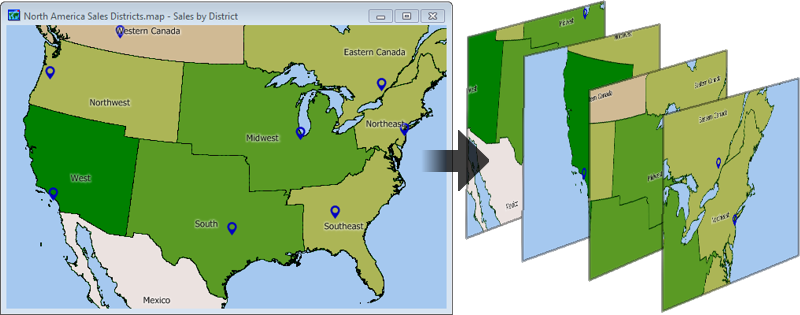
The Batch Save Maps Add-In provides an easy way to save maps for each feature in a layer. This is particularly useful when you want to output maps for every store in your distribution chain, for example.
The tool also allows you to save images from a second layer with a matching name. This could be useful when you also want to output a map for each territory, in addition to the store that it encompasses.
The tool also allows you to control which features from a third layer are shown, when outputting the batch maps for layers 1 and 2. This could be useful when you want a map for each store and/or territory broken out by customer type, such that each map image only shows customers of each unique type.
To install:*
To use the Batch Save Maps Add-In
*NOTE: The Batch Save Maps add-in works only with latest version of Maptitude.
Home | Products | Contact | Secure Store