Last Updated: July 8, 2025
To perform terrain analysis in Maptitude using the Terrain Analysis Toolbar, you need to import a DEM (Digital Elevation Model) Grid layer. Unfortunately, the USGS doesn’t provide layers in this format anymore. However, you can convert the format they currently provide into a usable DEM. This guide walks you through the complete process—from downloading contours to running terrain analysis in Maptitude.
Table of Contents
1. Download USGS Contour Data
2. Add Contour Data to Maptitude
3. Create a Grid Layer Over Area of Interest
4. Tag Grid with Elevation from Contours
5. Convert to Standard Geographic File
6. Use the Terrain Analysis Toolbar
Step 1: Download USGS Contour Data
First, download a contour for your area of interest from the USGS: https://apps.nationalmap.gov/downloader/
Step 2: Add Contour Data to Maptitude
1. In Maptitude, choose Map > Layers and click Add Layer
2. Change the file format to Shapefile (.shp) and browse to your unzipped folder and add the contour.
Step 3: Create a Grid Layer Over Area of Interest
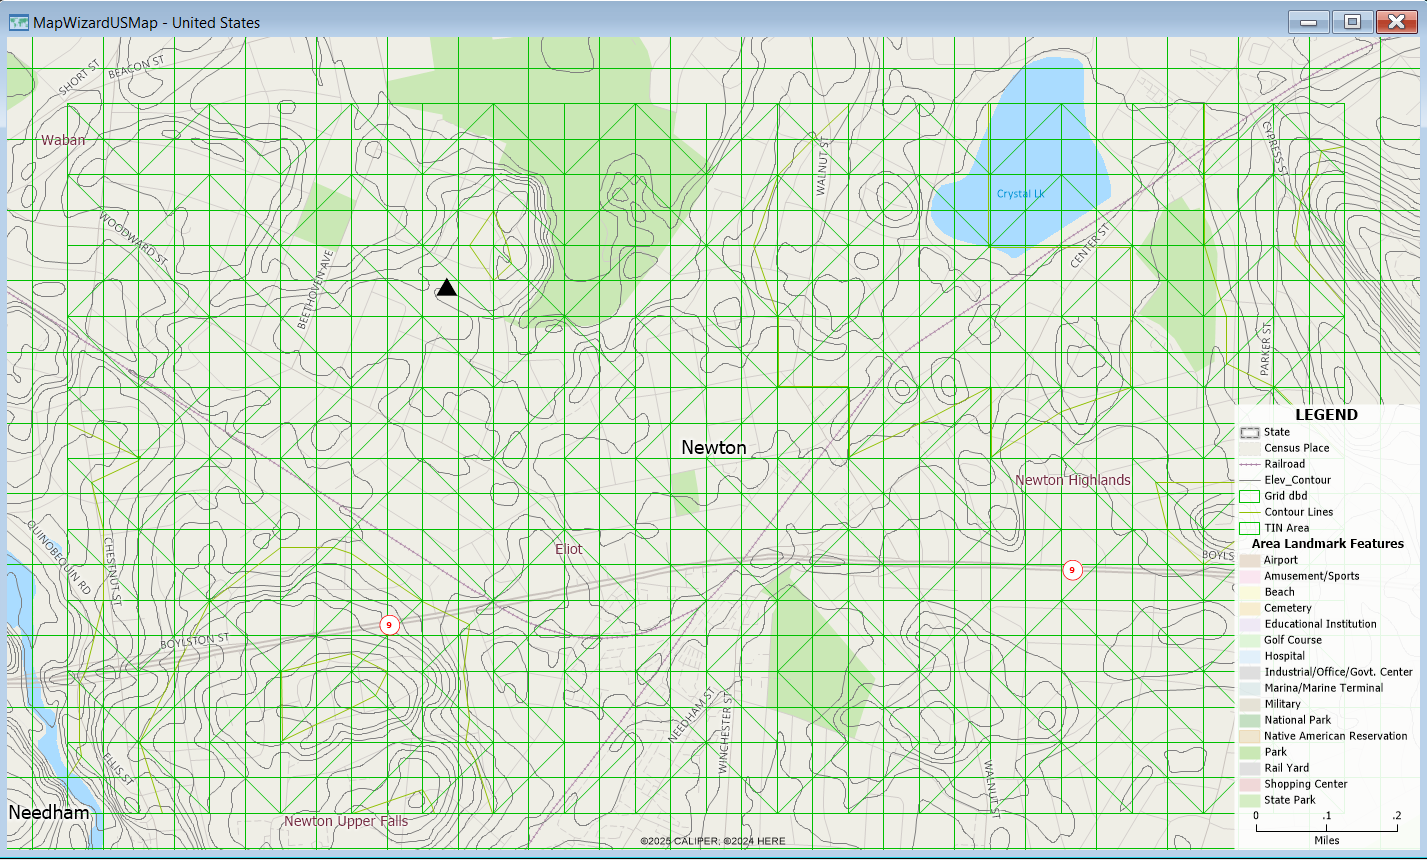
1. Zoom to an area of interest in the contour
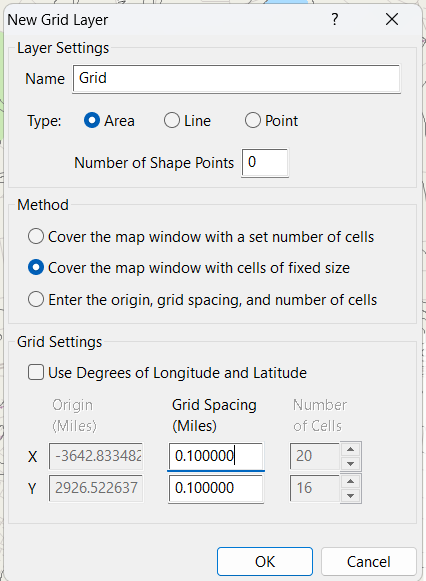
2. Choose Tools > Editing > New Grid Layer
3. Choose Point, then set the grid size to something appropriate (e.g., 0.1 miles X and Y spacing)
Step 4: Tag Grid with Elevation from Contours
1. Right click on your Grid layer and choose New Dataview
2. Right click any column header and choose Modify
3. Click Add Field, name it Elevation, set Type to Real, click OK and Yes
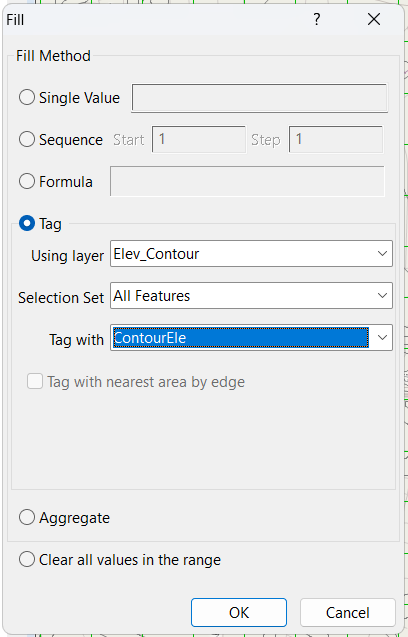
4. Right click the new Elevation field and choose Fill
5. Select Tag, choose the Contour layer and ContourEle field
6. Click OK. This may take time depending on your area size
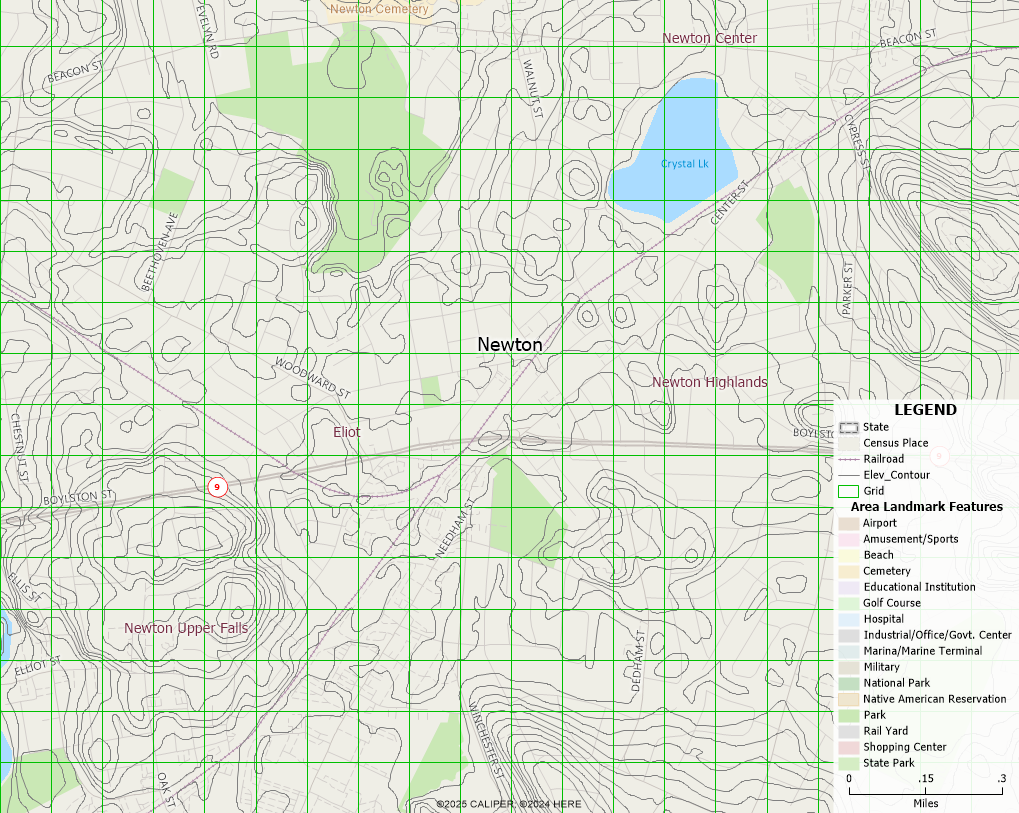
Step 5: Convert to Standard Geographic File
1. Make your tagged grid layer the Working Layer
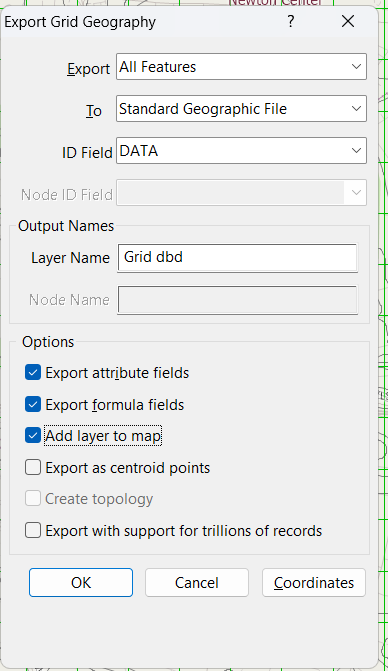
2. Choose File > Export > Geography
3. Set To as Standard Geographic File, name it Grid dbd, check Add Layer to Map, click OK
4. Right click and remove the original grid layer
Step 6: Use the Terrain Analysis Toolbar
1. With your new elevation-enabled point layer (Grid dbd) in the map:
2. Go to Tools > 3D > Terrain Analysis Toolbar
3. Choose the elevation field when prompted
4. Click OK to activate the toolbar
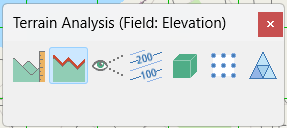
Available Tools in the Terrain Analysis Toolbar:
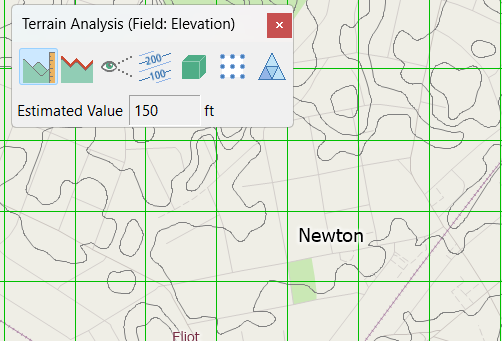
- Calculate Spot Data – View elevation at any point

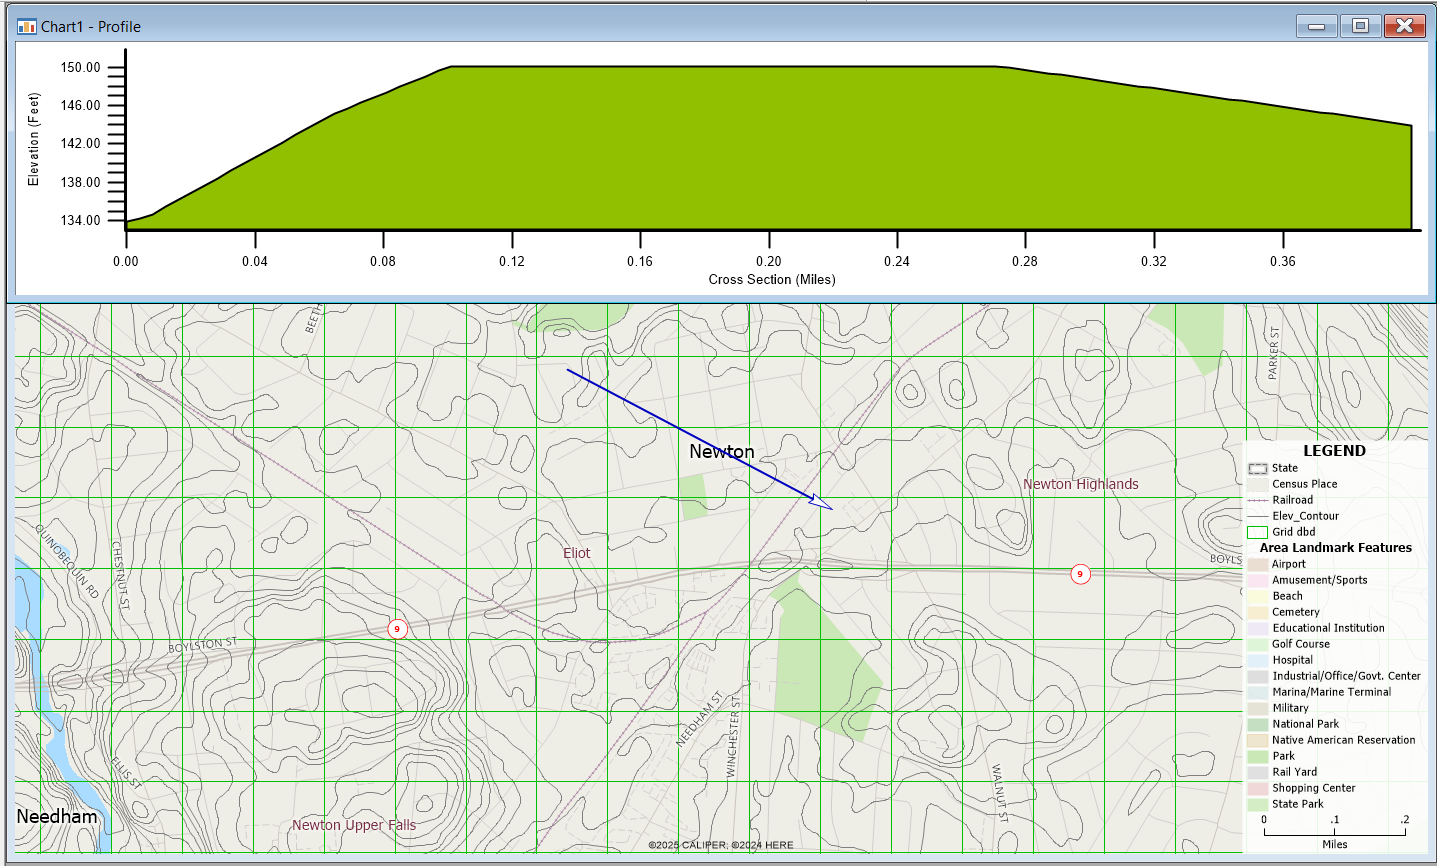
- Show Profile – Generate elevation profiles between two points

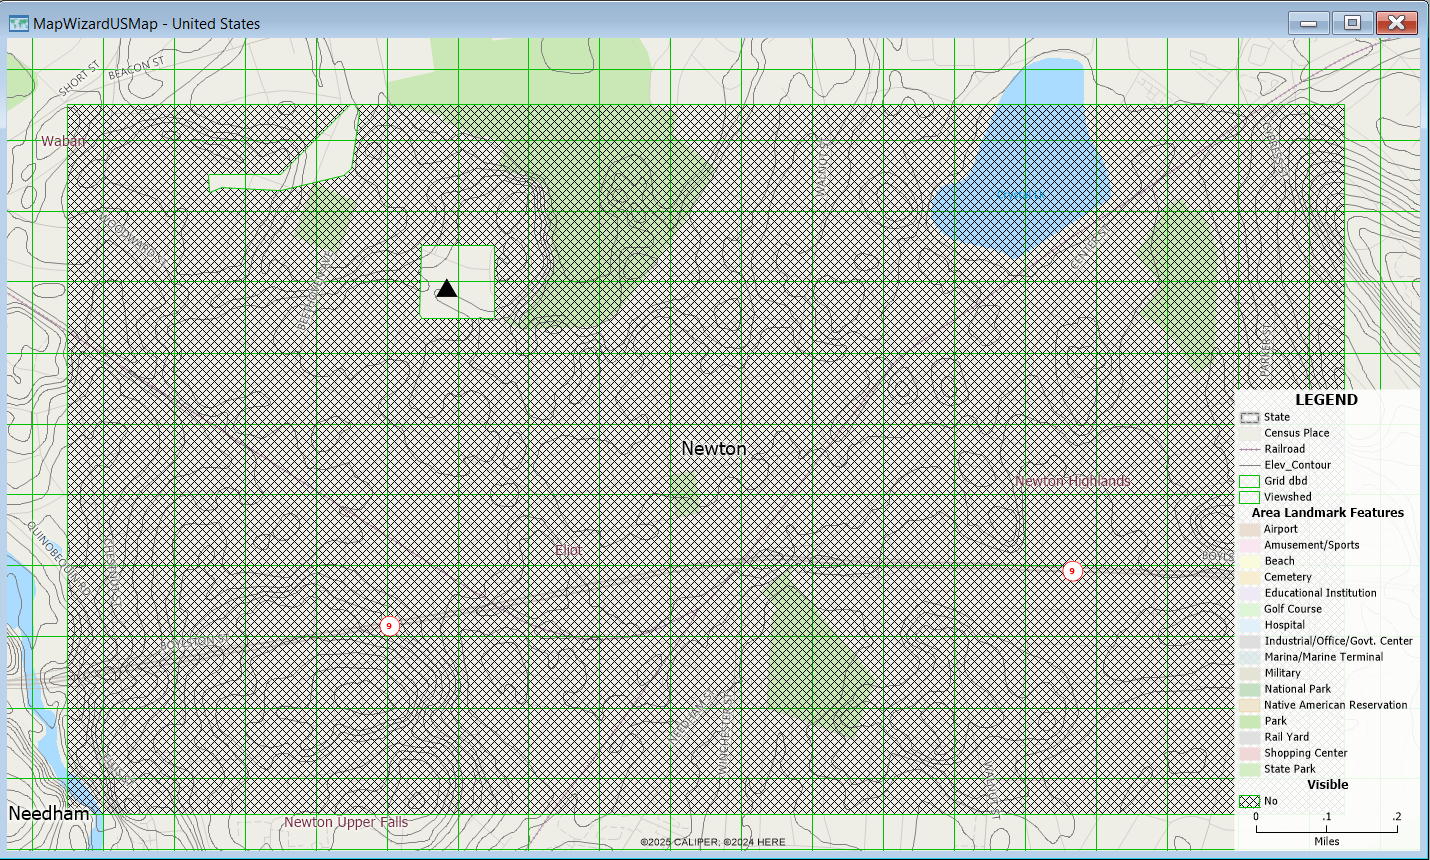
- Create a Visibility Map – Analyze visible and hidden terrain areas

- Generate Contours – Create contour lines or areas (manual or automatic)

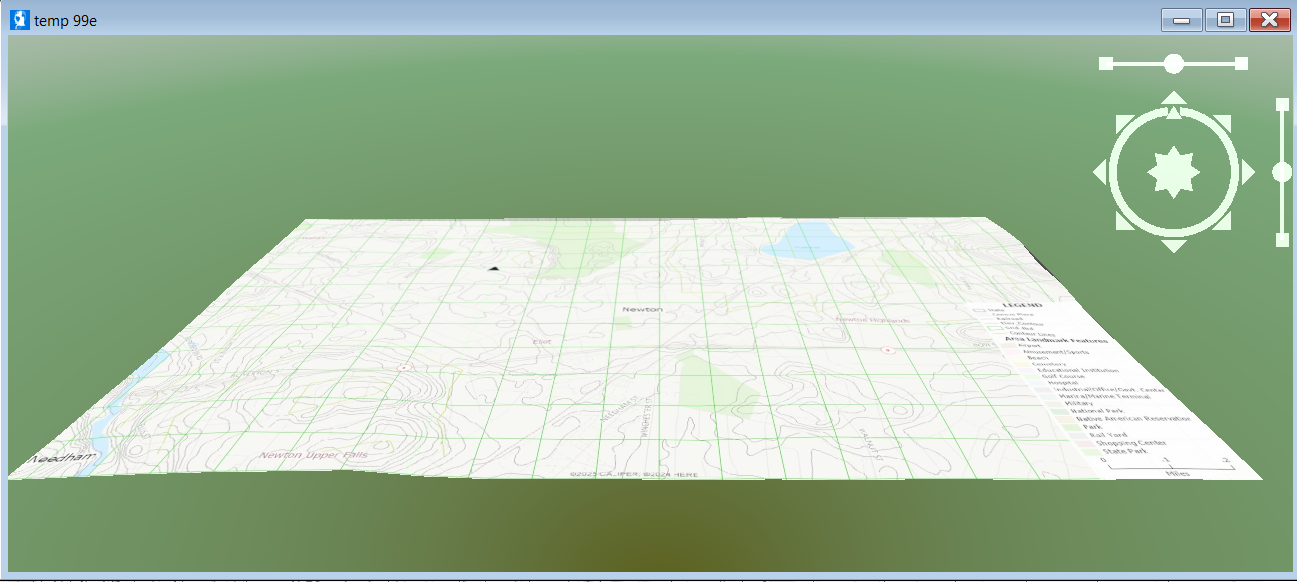
- Show 3D Terrain – Render a 3D terrain map

- Create a Rectangular Grid DEM – Convert your point layer into a structured elevation grid

- Display TIN Data Structure – Save and symbolize the TIN layer with slope/aspect analysis