Last Updated: November 10, 2025
You can show all map labels, even in crowded or overlapping areas, using map labeling software that gives you complete control over how labels appear and where they are placed. In Maptitude, you can easily allow overlapping labels and move them for clarity.
This article walks you through enabling overlapping labels and repositioning them on the map. To follow the steps, download a free mapping software trial of Maptitude Desktop or use your existing Maptitude Desktop license.
Table of Contents
1. Enable Overlapping Labels
2. Move Labels Manually
3. Learn More About Label Editing
Enable Overlapping Labels
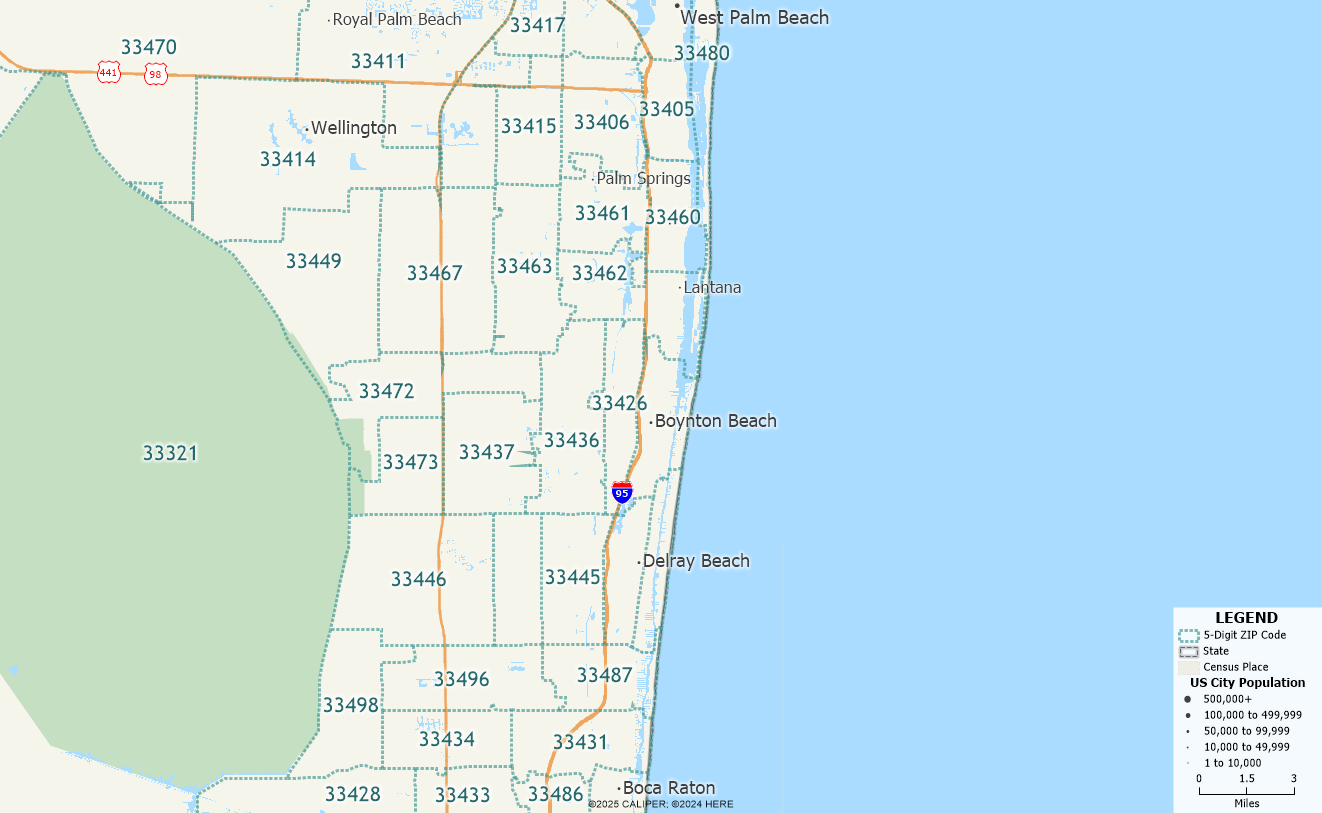
By default, Maptitude hides labels that would overlap with others. You can change this to ensure all labels are displayed, even when features are close together:
- In the Display Manager, click the Label icon next to the layer you want to modify (e.g., 5-Digit ZIP Code).
- In the Label Settings window, go to the Overlaps tab.
- Check the box for Allow Overlapping Labels and click OK.
Maptitude will now display all labels, even in tightly packed areas.
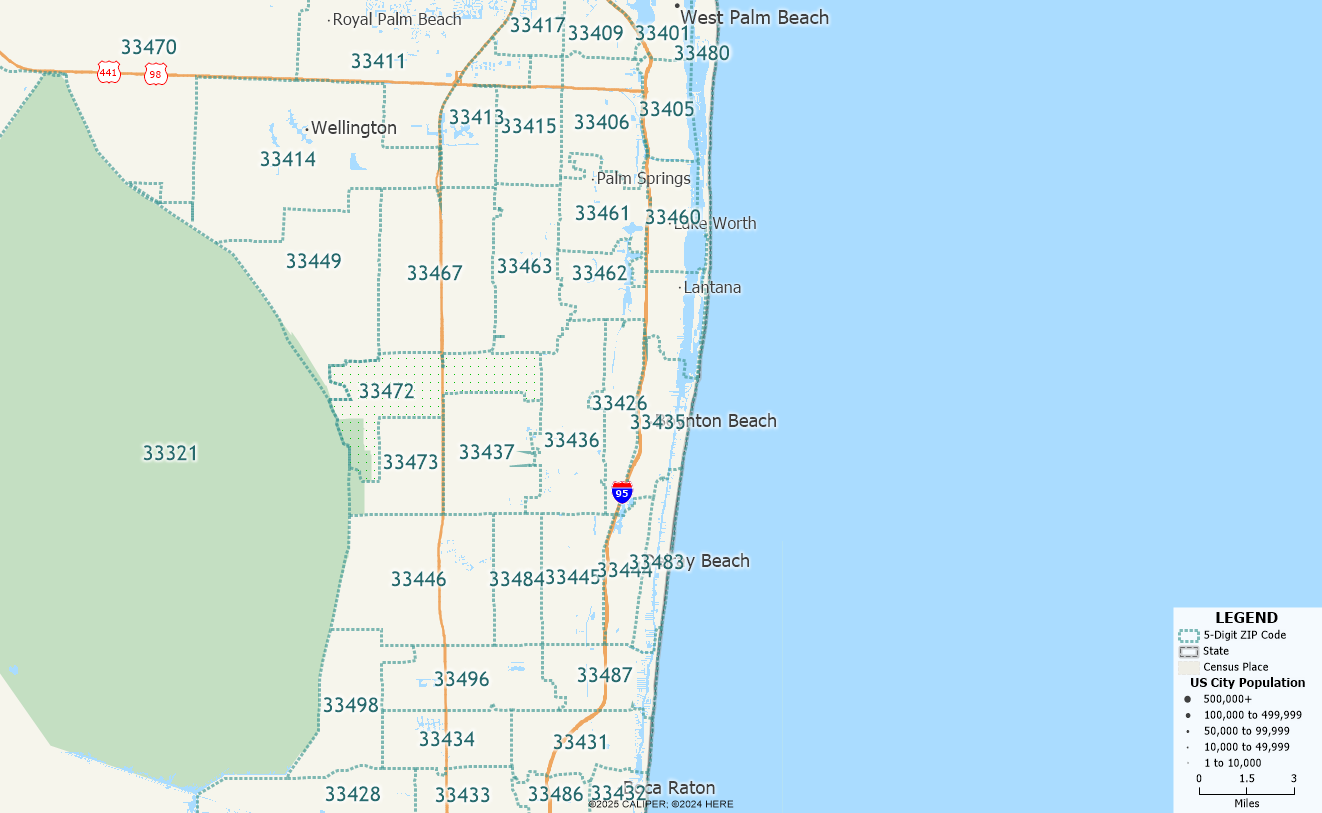
Move Labels Manually
Once all labels are visible, you may want to manually move specific ones for better readability. To do this:
- Click the Label tool on the Standard toolbar or enable the Label Editing toolbar.
- Click on a label and drag it to the desired location.
- Repeat as needed to adjust other labels.
This is especially helpful when working with dense ZIP Code areas, census tracts, or urban map layers.
For more information on Maptitude labels, please refer to our learning portal video on labels.