Last Updated: March 5, 2025
You can change Maptitude’s interface to your preferred language by following these steps:
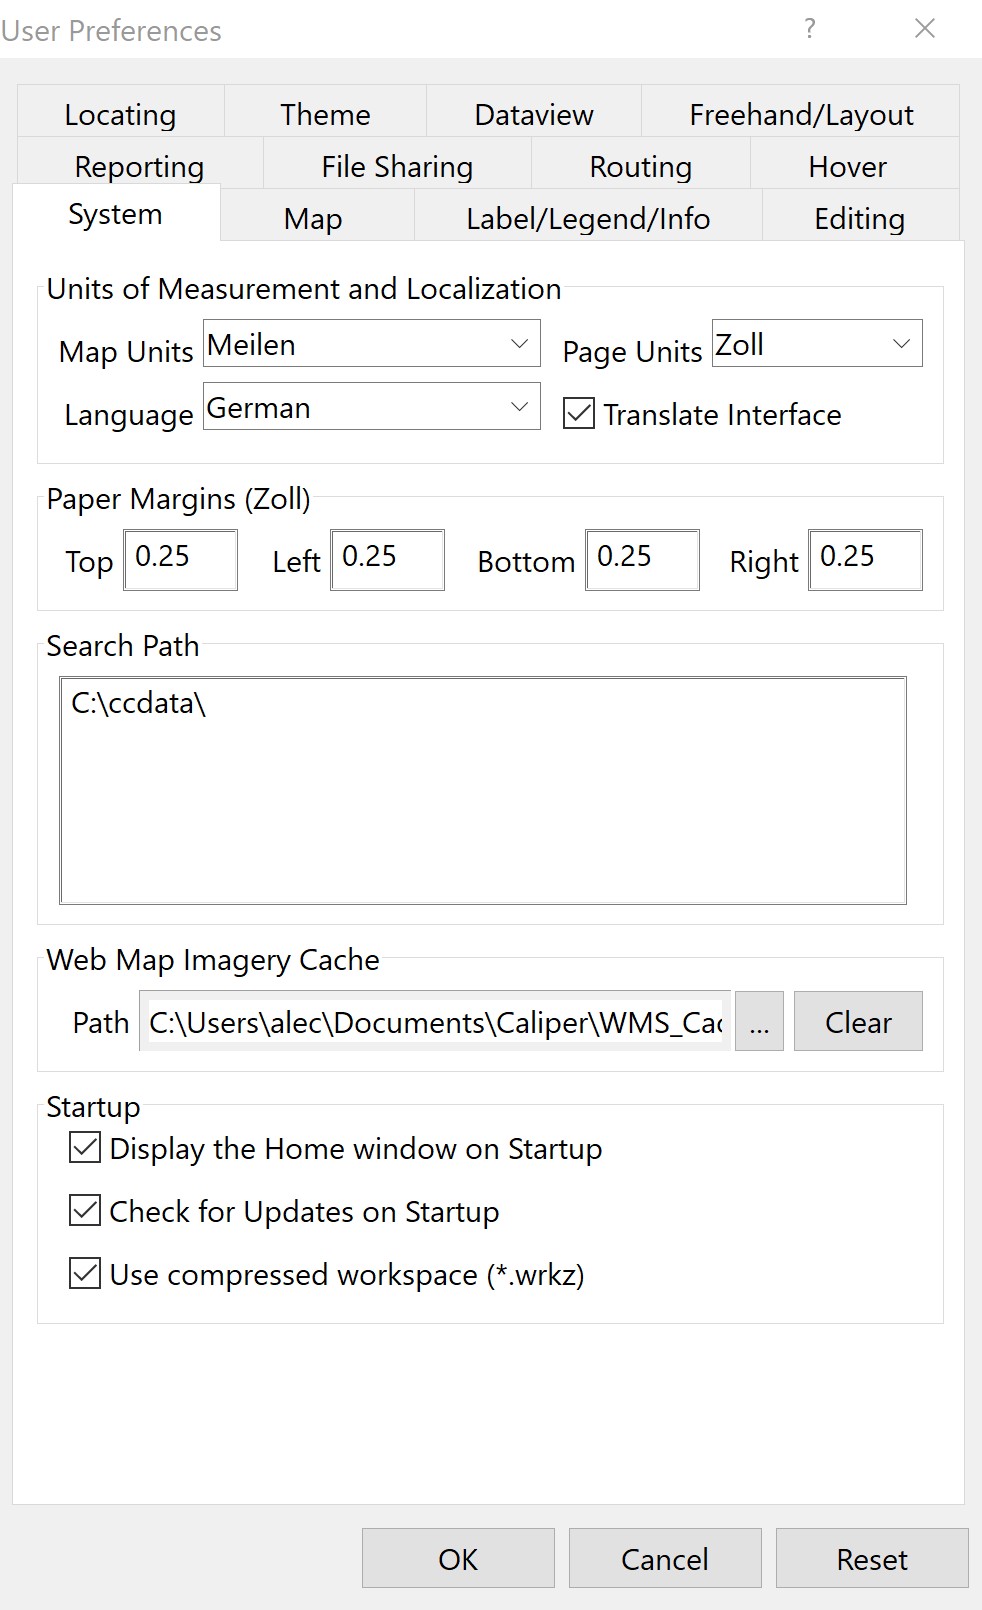
- In Maptitude, choose Edit>Preferences to display the User Preferences dialogue box.
- Navigate to the System tab.
- Choose your preferred language in the Language drop down. The default is English (US).
- Check the Translate Interface checkbox.

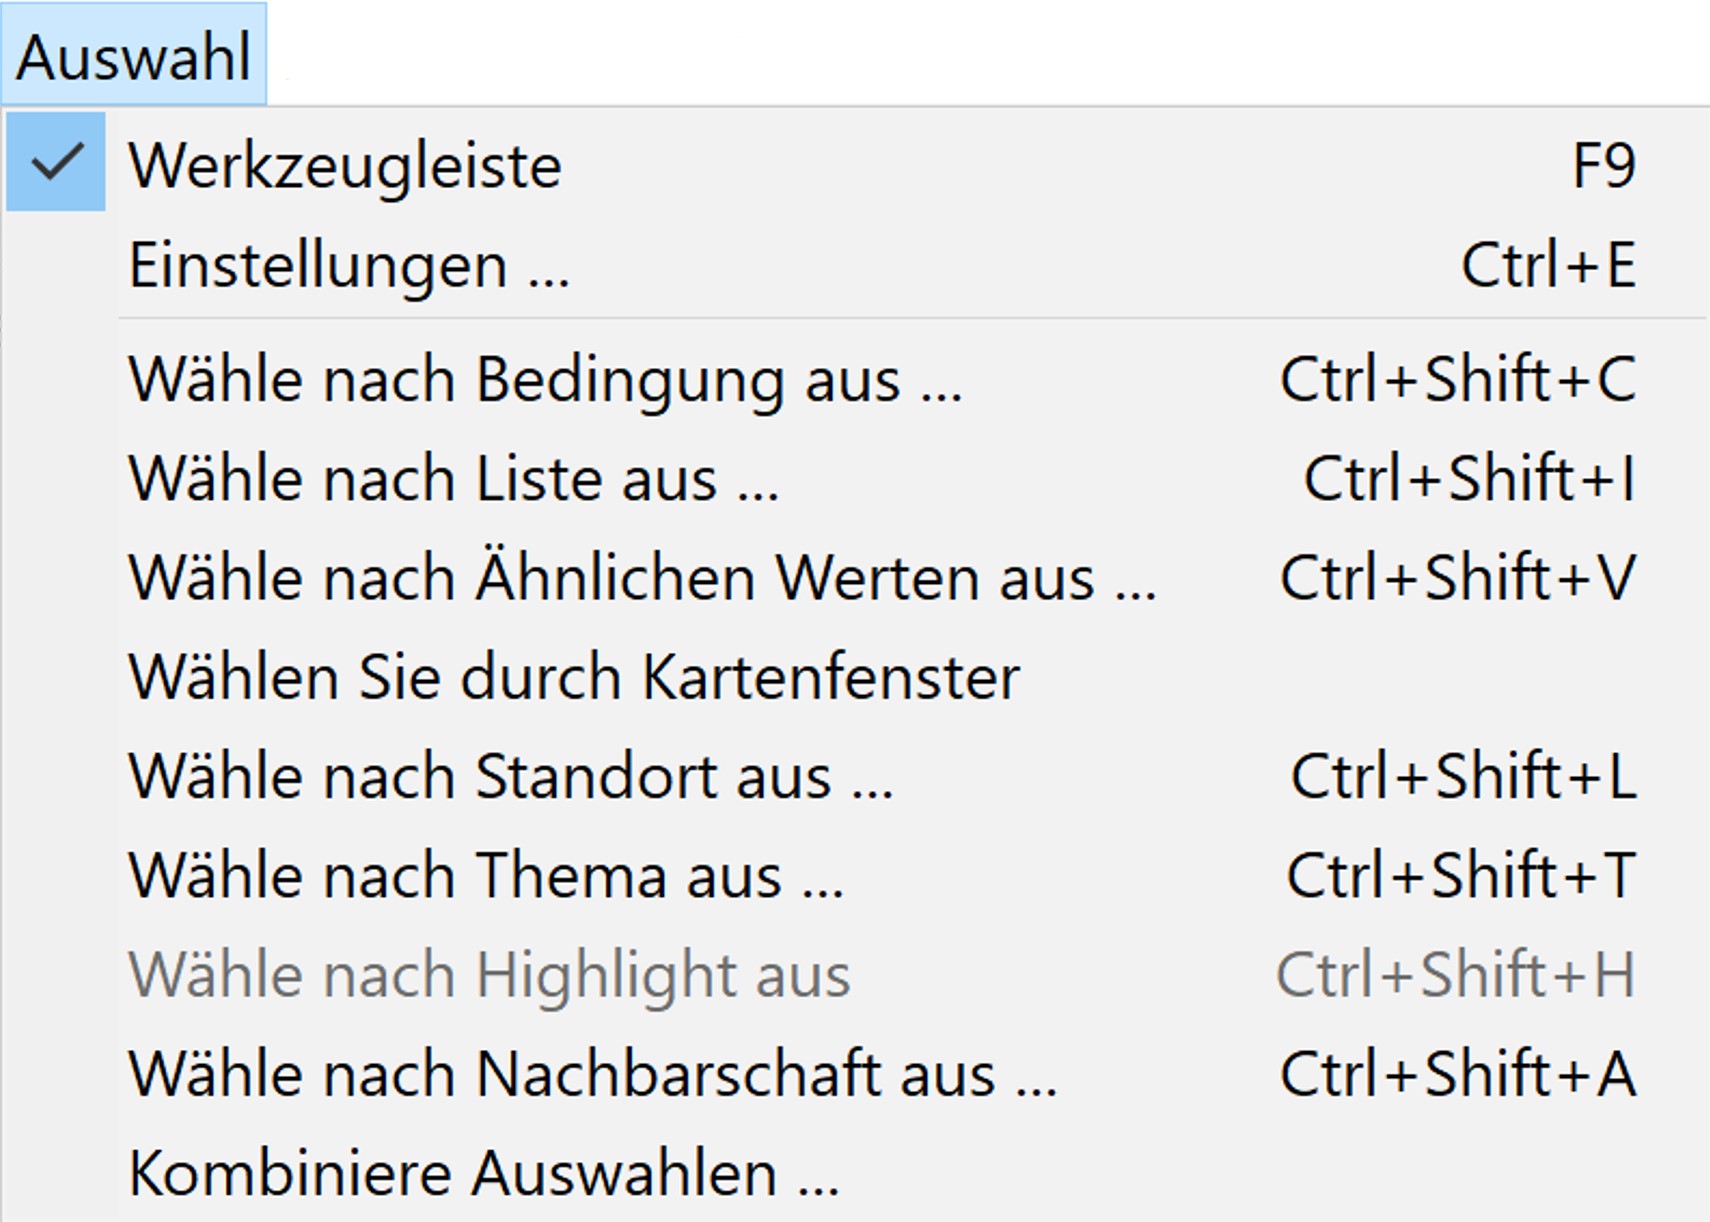
After this you will be prompted to restart your program for the translation to take effect. Close and reopen Maptitude and the menus will now be in your chosen language.

Once these changes have taken effect, you can choose whether to translate the Maptitude dialog boxes using Edit>Translate Dialogs. This is on by default when you change your language, and will translate any windows that you open.
Currently, full UI translation is only available for Korean, Spanish, and Chinese.
If you have chosen a language that contains non-unicode characters (Chinese, Arabic, French, Spanish, etc.), you will need to follow the steps below before restarting Maptitude:
- Open the Windows Control Panel.
- Go to Clock and Region and go to Region.
- Go to the Administrative tab and click on Change system locale.
- Select the language you are using in the drop down and click OK.
- You will need to restart your computer for these changes to take effect.
