Last Updated: April 27, 2026
You can display the direction of a line (such as a street or network link) using route planning and mapping software. The direction of topology for a line shows which way the line was drawn from the starting point to the ending point. Knowing this direction is important because it helps you correctly assign information to the line, such as addresses on the left and addresses on the right. To follow the steps in this article, you can download and install a free trial of Maptitude mapping software, or use your existing license of desktop Maptitude.
Table of Contents
1. Display Direction Using Line Style Arrows
Display Direction Using Line Style Arrows
If you simply need to visualize the direction of lines, you can enable arrow symbols in the layer style by following these steps:
- Open your map in Maptitude.
- Go to Map > Layers… > Select the line layer you want to modify (e.g., streets or routes) > Style…
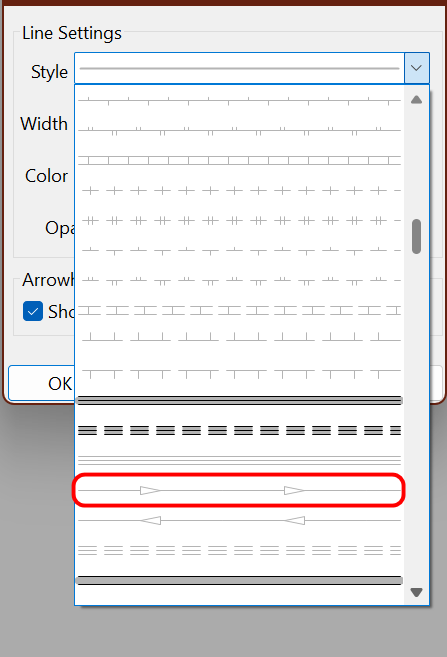
- Choose the first line style with arrows.
- Adjust the width as needed.
- Click OK to apply the changes.
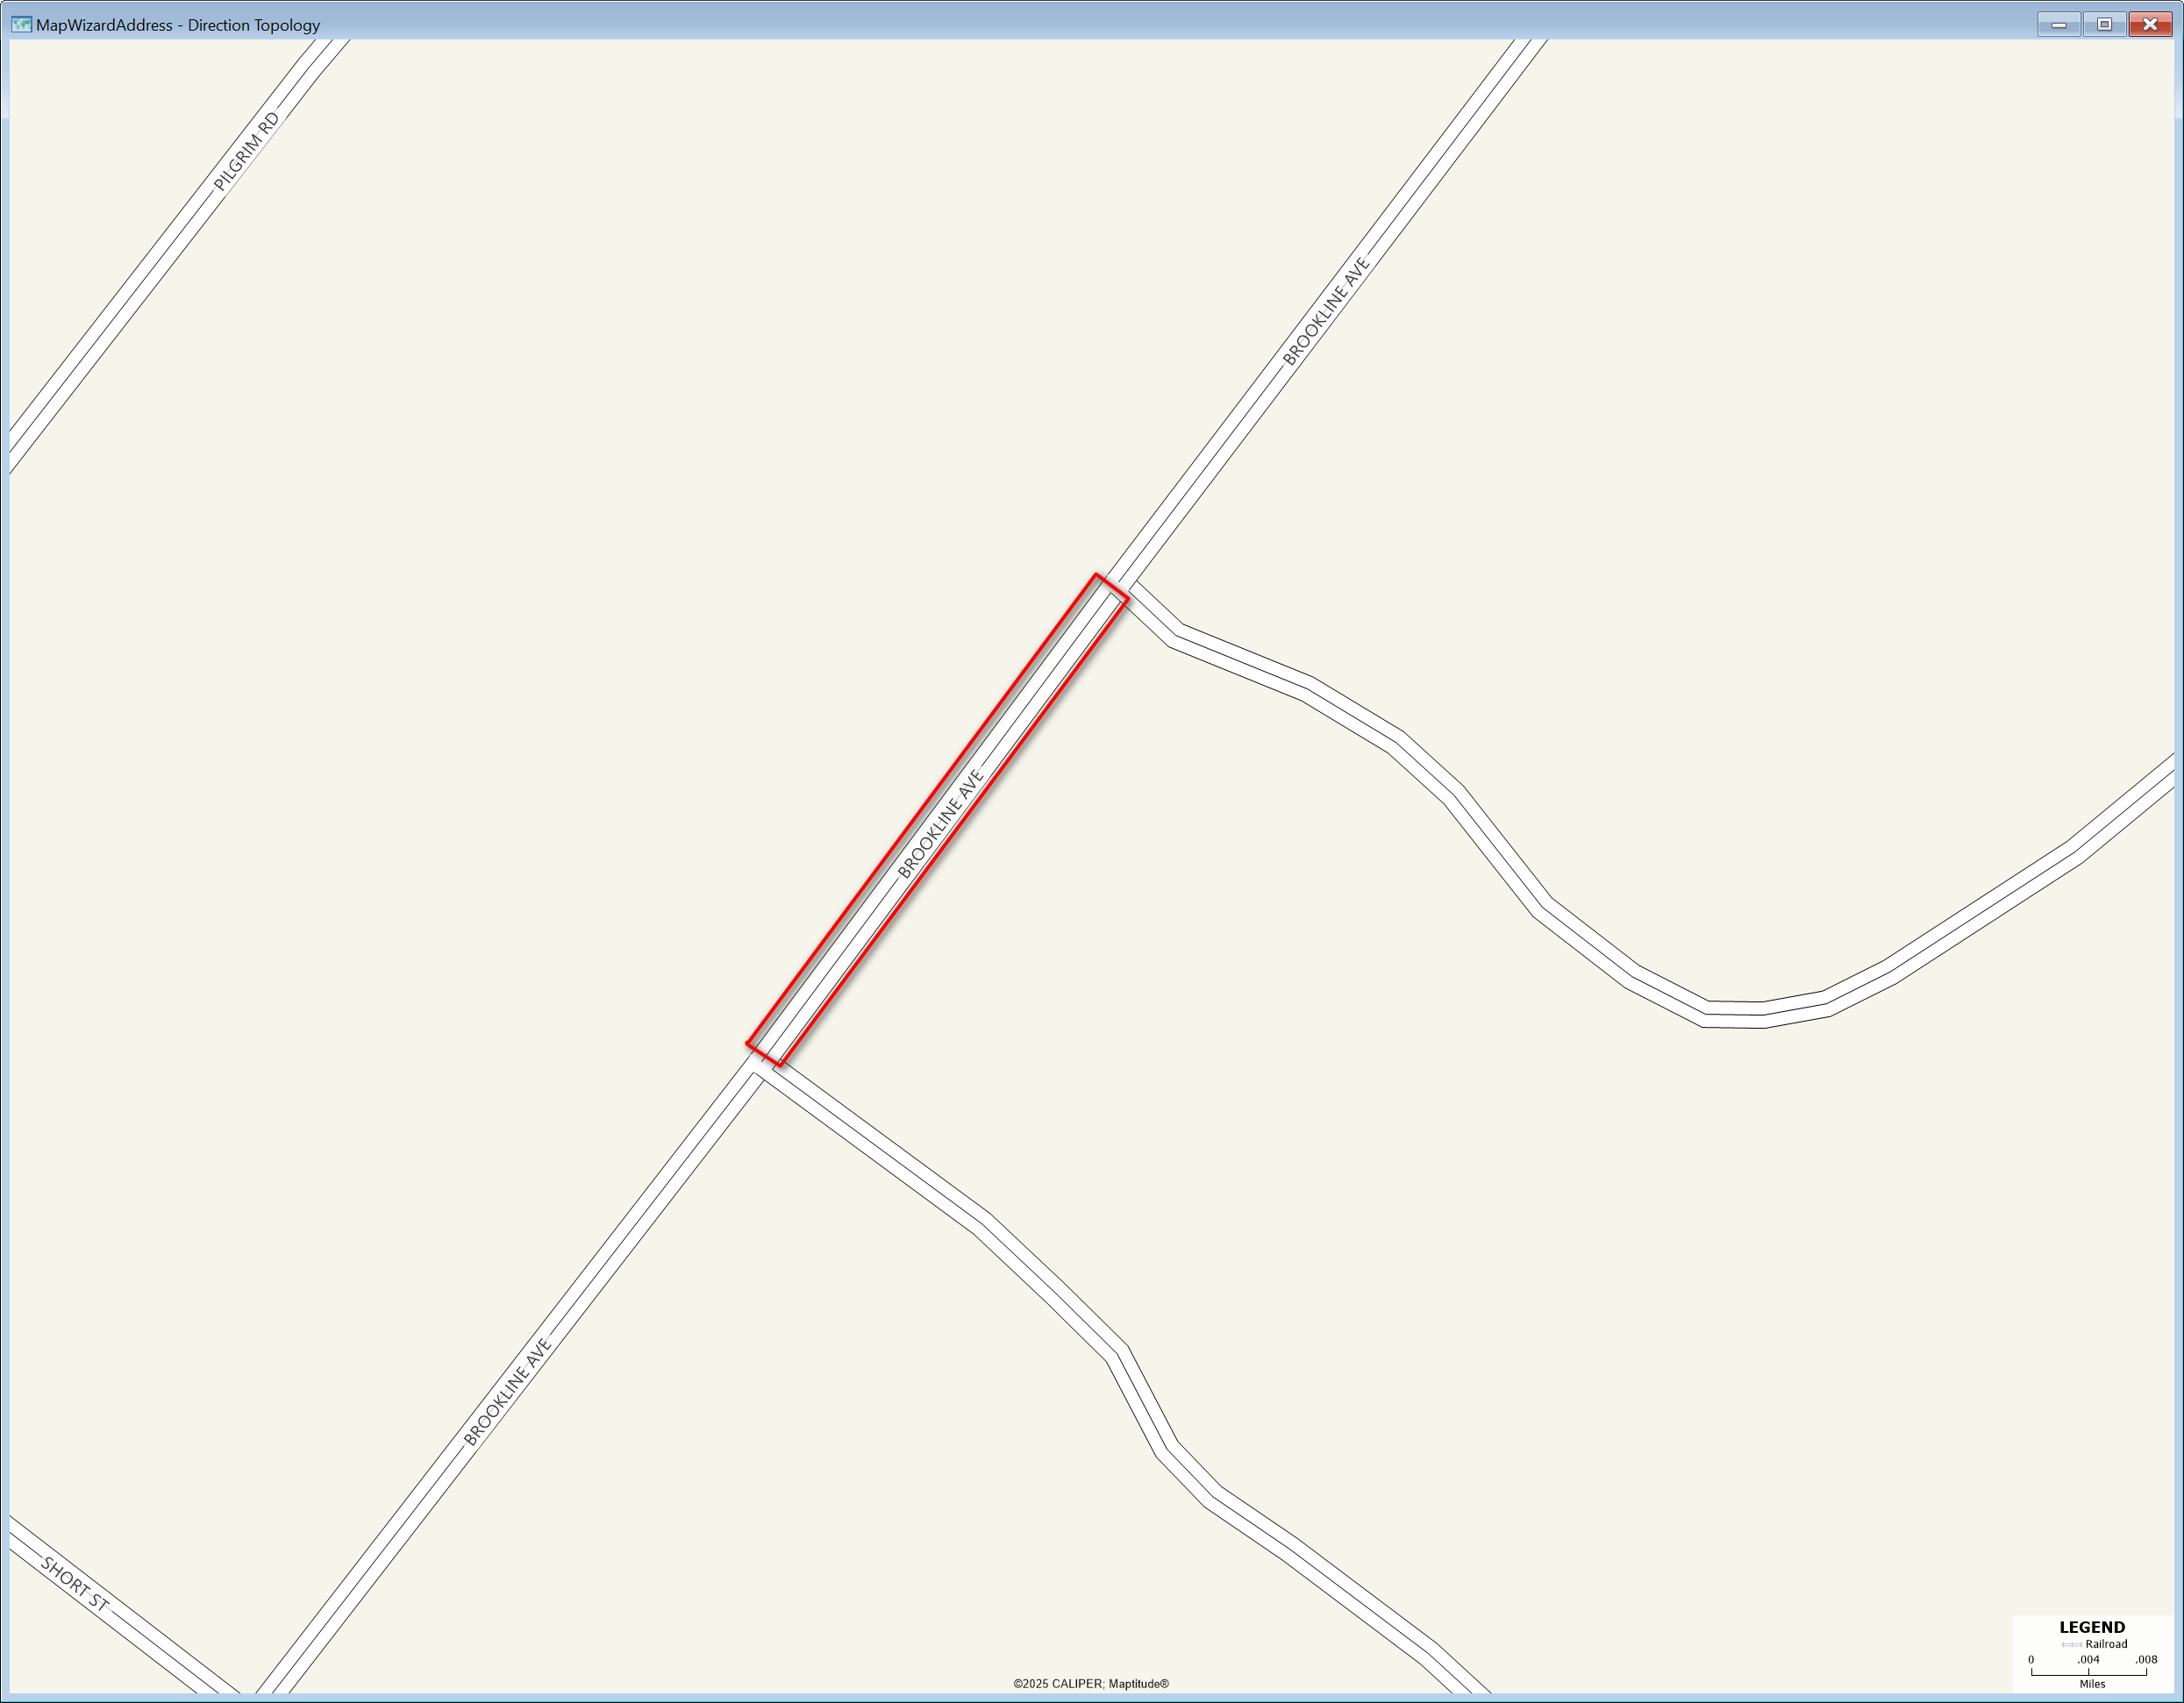
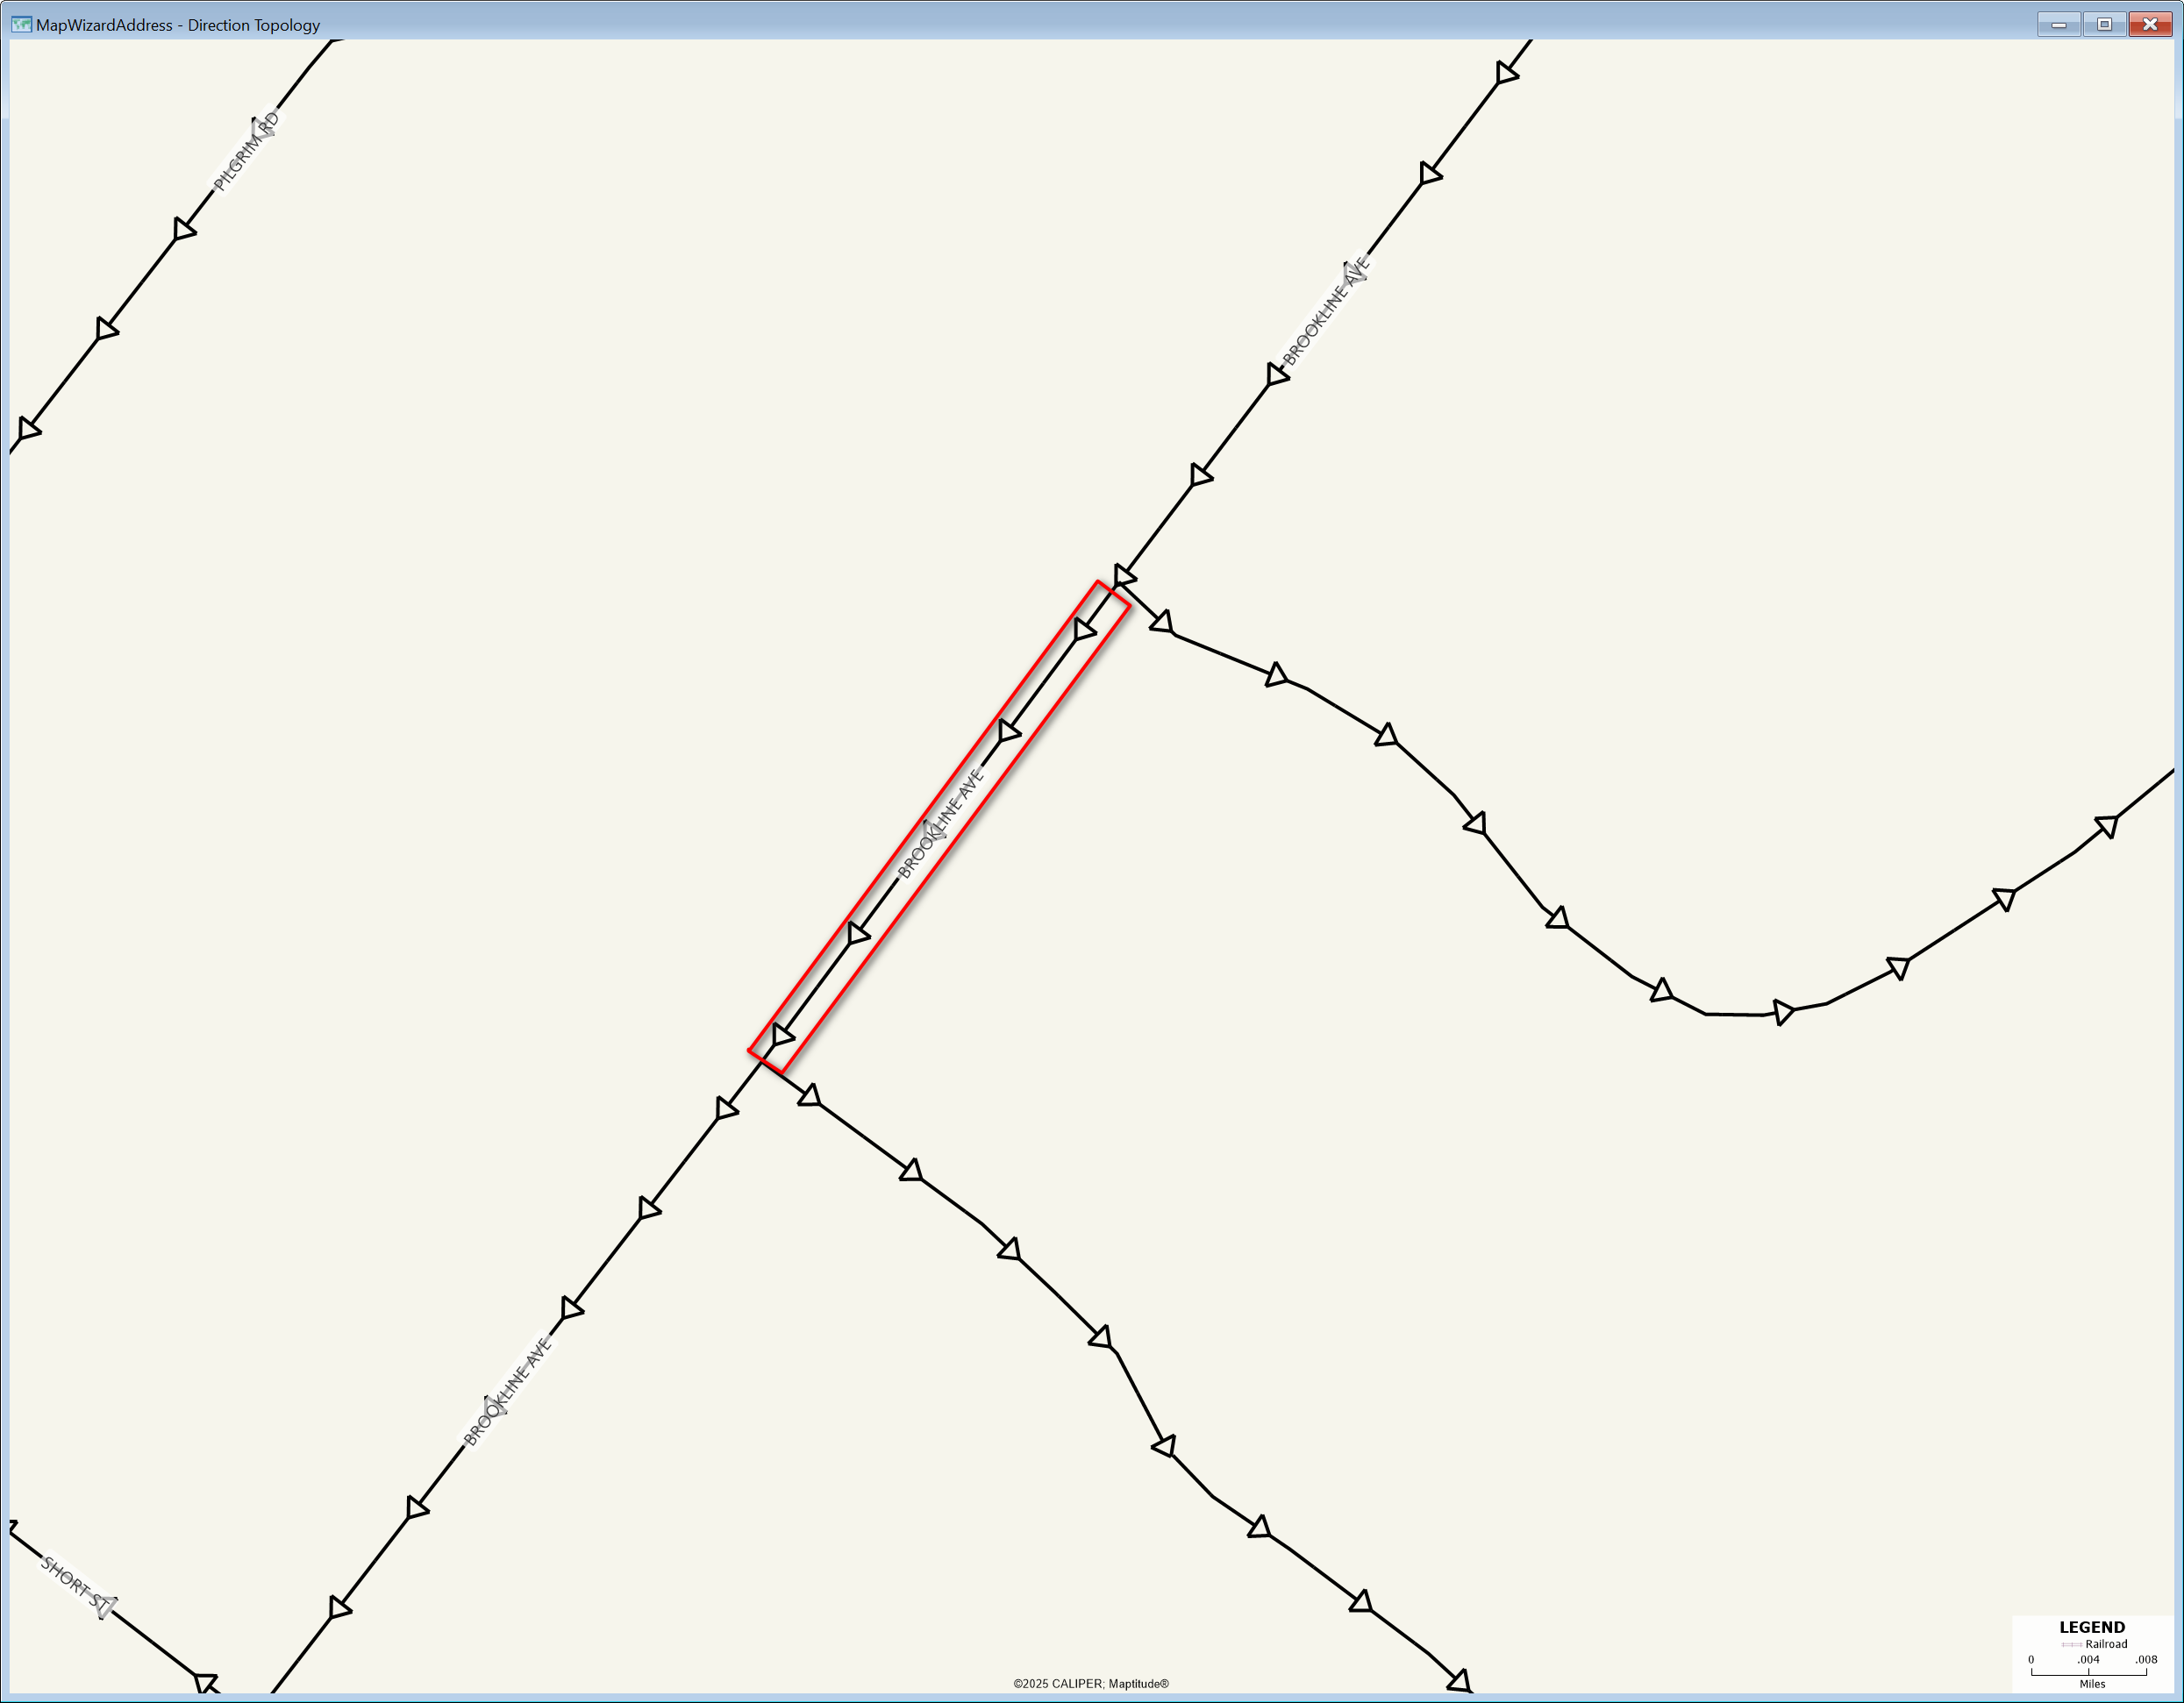
Note: The arrows will follow the digitized direction of each line (from start node to end node).
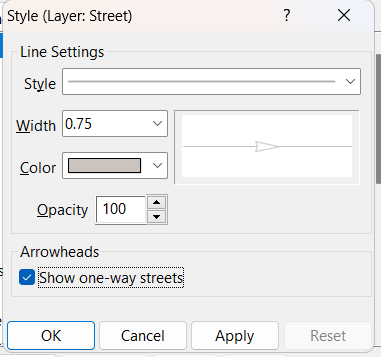
Showing One-Way Streets
For street layers, you can quickly display direction without modifying the line style by enabling the built-in one-way street setting:
- Open your map in Maptitude.
- Go to Map > Layers… > Select the street layer > Style… > Select the Feature Display you want to edit > Style…
- In the style menu, locate the Arrowheads section.
- Check Show one-way streets.
- Click OK to update the map.
The map will now display arrows indicating the direction of one-way streets based on the underlying data.