Last Updated: March 5, 2025
When creating a map of your own data in Maptitude from a list of addresses in Microsoft Excel, Maptitude requires the different parts of the address (Street Address, City, Postcode etc.) to be in separate columns: 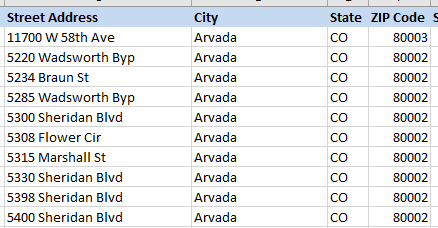 This can be an issue when your data is stored in the same column:
 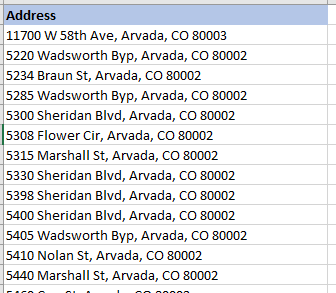 Thankfully, Excel has a great tool available to split your data into separate columns called Text to Columns that can make this process as easy as possible. This article will go over how you would split a column of addresses in the format:
“Street Address, City, State ZIP”
Into separate columns, but you can easily edit the method for use with other formats.
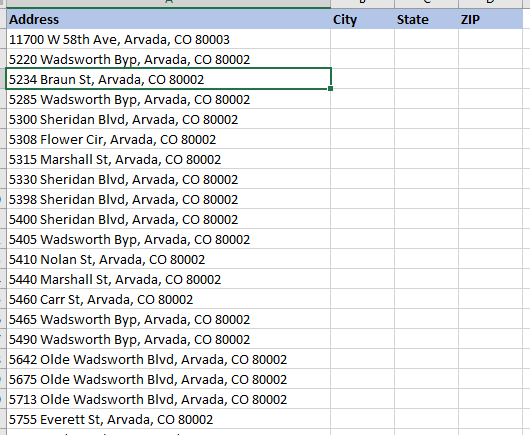
- Add extra columns right after the Address column for the new columns you need. If you have additional columns after the address column use the insert feature to make it so these columns come right after the address column.
- Highlight the cells in the Address column, click on the Data tab and then Text to Columns.
- Choose Delimited and click Next>
- Check Comma and click OK. This runs through each entry in the Address Column and moves on to the next column every time it finds a comma. Now Address and City are in their own column, but State and ZIP are still in the same column since there was no comma in between.

- Highlight the cells in the State column and click Text to Columns
- Choose Fixed Width and click Next>
- Move the line break to be between the state and the ZIP Code in the Data preview. Click Finish.

You can use the Text to Columns tool to convert a list of addresses all at once as long as there is a consistent structure. Use Delimited to insert column breaks instead of specific characters such as commas, and use Fixed Width to split up fields after a set number of characters.