Last Updated: March 5, 2025
You can create worldwide territories using sales territory mapping software.
Maptitude comes with a specially formatted World Province map that was put together to run optimally with the Territory Tool, making international territory creation much easier.
An area file with population counts by sub-national boundaries is now downloadable for free to users of
the latest version of Maptitude. A PDF guide is installed with the data and includes information on the map layer as well as tips for analyzing and using the data.

Adding the Enhanced World Province Layer to the Territory Wizard World Map
Users of the latest version of Maptitude can download and install the enhanced World Province layer. Users of previous versions of Maptitude can upgrade to the latest version, or skip to the Opening the Territory Wizard World Map section of this article.
To replace the default World Province layer that ships with Maptitude with the enhanced World Province Layer, please do the following:
- Browse for the folder where the downloaded data are located (e.g., C:\ccdata\Caliper World Province Boundaries 202X)
- Copy ccWorldLandMass.cdf and ccWorldLandMass.sty
- Browse to C:\ccdata and paste the copied files
Opening the Territory Wizard World Map
Country packages will come installed with a map called Territory Wizard World Map, which includes the necessary layer. This can be accessed through the Demographic Map Librarian:
- From the Home Window, choose New demographic map
- If you are starting from an existing workspace, go to Map>Demographic Map Librarian…
- In the Choose a Map Library dropdown, choose a Library (e.g. USA Map Library 202X)
- For Choose a Map Category, choose Overview Maps
- For Choose the Map(s) You Want, choose Territory Wizard World Map
- If you have a Bookmark, saved you can use that, or highlight Other Location and click OK
- Pick an area of the world to start the mapping in (e.g. highlight World Country and type Mexico, then click OK)
This will open a new map that we can use to build our world territories
Building Territories Interactively
Now we have the correct map open, we can start building our territories.
- Go to Map>New Territory Layer
- Make sure Interactively from areas in a map is checked and click Next>
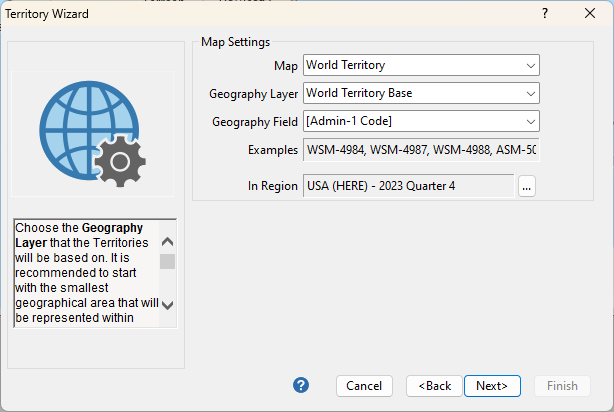
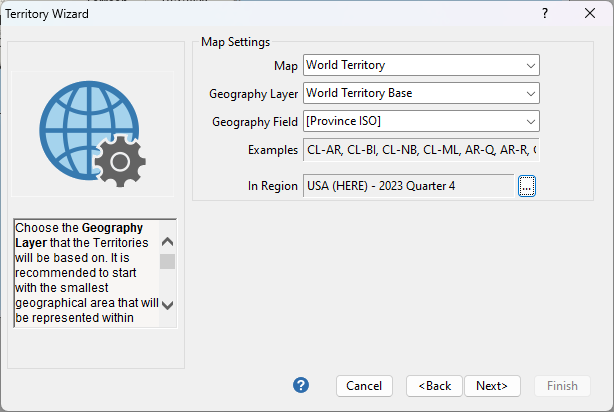
- Make sure the Geography Layer is “World Territory Base” and the Geography Field is “[Admin-1 Code]” when using the enhanced World Province layer or “”[Province ISO]” when using the standard World Province layer that ships with Maptitude

Settings when using Enhanced World Province layer 
Settings when using included World Province layer
- Click Next>
- Click Next>
- Add any fields that contain data you want to track
- Click Finish
This will create a blank territory layer that you can start building territories in using the Territory Manager. See this video for general help using the Territory Manager
You will be building territories from the World Territory Base layer. What each area in this layer represents will differ by country based on data availability. For some countries, the area in this layer will simply be the whole country. For larger countries and countries with more available data, each country has been divided. Some examples:
- In the USA, each area is a State
- In Canada, each area is a Province
You can group these areas up however you like in order to create worldwide territories. Be aware that if you are adding large areas at once the assignment may take a few minutes to process.
Adding a Whole Country at Once
For the most part, building world territories will be the same process as building any other territory map. However, there is one tip that is especially useful when building world territories as it allows you to add an entire country to a territory at once. To do this, you will just need to know the 2 digit ISO Code for the Country you would like to add. The full list of codes can be found on Wikipedia here – you will want to use the codes in the “ISO 3166-1 Alpha-2 Code” Column. For this example, we will be using “BR”, the 2-digit code for Brazil.
- Make the territory you would like to add to the Working Territory
- Click

- From the Field List dropdown, choose [ISO 3166-1 Alpha-2 Code]
- Under Enter a Condition, type = “BR”
- Click OK
- Click
 to save the changes