Last Updated: March 5, 2025
You can keep track of demographic and sales data for your territories using sales territory mapping software.
Tracking Fields are a useful way to see how changes to your territories will affect the values for certain data about those territories. For example, they would allow you to see – in real-time – how the total population in a territory would change if you were to add a new area to it. This article will go over how you can add tracking fields to your territories, as well as discussing the types of tracking fields you can use.
Note: Tracking Fields are designed to be used when you have data at a lower level (e.g. at the ZIP Code level) and want to see how the Territory totals change as you move areas from one territory to another. If you already have your data at the Territory level, you can follow the steps in this article to simply add extra fields to the territory layer.
How to get to the Tracking Fields options
There are two ways you can start to add tracking fields to your territories – either during the territory creation process or after you have created the territories.
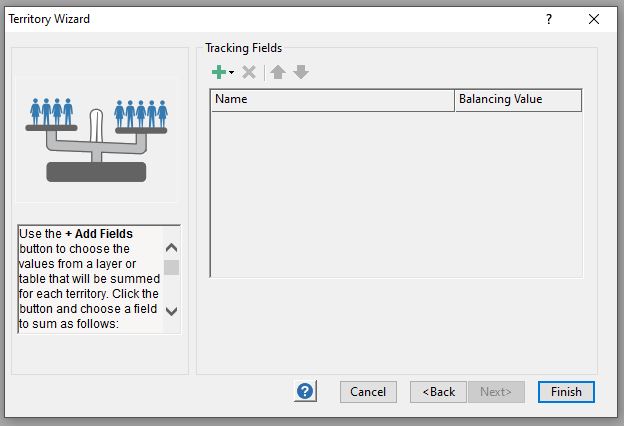
- To add tracking fields during the territory layer creation process, simply click
 when the Tracking Fields page of the Territory Wizard comes up:
- To add tracking fields after you have already created the layer:
- In the Territory Manager click

- Choose Territory Layer Settings
- Click on the Fields tab
- Click
- In the Territory Manager click
![]()
How to add Tracking Fields
When you click ![]() , you will always see options for Add Geography Layer Fields and Import Fields from File. Additionally, you may also see an option for Import Territory Table Fields. These methods are discussed below:
, you will always see options for Add Geography Layer Fields and Import Fields from File. Additionally, you may also see an option for Import Territory Table Fields. These methods are discussed below:
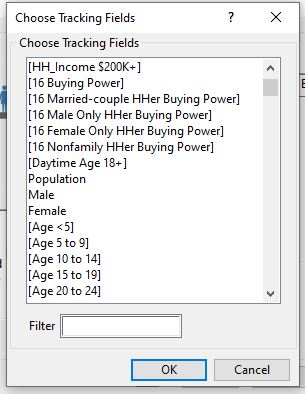
Add Geography Layer Fields – When you create a Territory layer, you choose a Geography Layer that serves as the base layer from which you build your territories, such as the ZIP codes or the Counties. The Add Geography Layer Fields option allows you to use any of the data that is pre-loaded for this base geography. This is most commonly the demographic data that comes with the Maptitude software, such as Population or Households.
- Click
- Click Add Geography Layer Fields
- Highlight the field(s) you would like to add
- Click OK
Import Fields from File – This option lets you bring in data from outside Maptitude and use this as a tracking field. You will need a table that includes the data you want to use as well as a field that can match the data up to the Geography Layer you have chosen. So if you chose County as the Geography layer, you could add Sales as a tracking field by importing from a file that has your sales information and the County each sale was in.
- Click
- Click Import Fields from File
- Navigate to the file you want to use and click Open
- Choose the field that matches your data to the Geography Layer, e.g. County, and click OK
- Choose the field(s) you would like to add as tracking fields
- Click OK
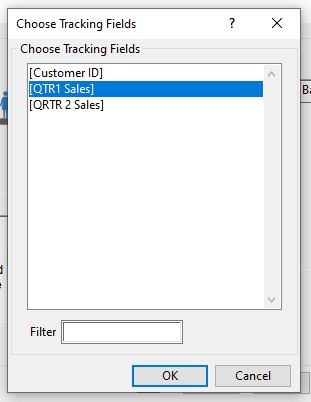
Import Territory Table Fields – This option only comes up in the Territory Wizard when you are creating a territory layer from a table. It is a special case of the Import Fields from File option where the file you are importing from is the same as the one used to build the territories. Again it lets you use any of the numeric fields from your Territory Table file.
- Click
- Click Import Territory Table Fields
- Highlight the field(s) you would like to add
- Click OK
For more information on managing your territories and keeping track of changes, please see the tutorial video on managing territories.
For more information on visualizing the tracking fields of your territories, please see the video tutorial on thematic mapping.