Last Updated: April 19, 2024
You can make use of mapping tools with mapping software.
To get started using mapping tools, you can follow these steps:
- Install and activate the Maptitude mapping software on your device. You can use your own license or request a free trial of Maptitude.
- Familiarize yourself with the main interface and terminology by watching the Maptitude Basics tutorial videos.
- Learn how to navigate and move around a map using the software’s features.
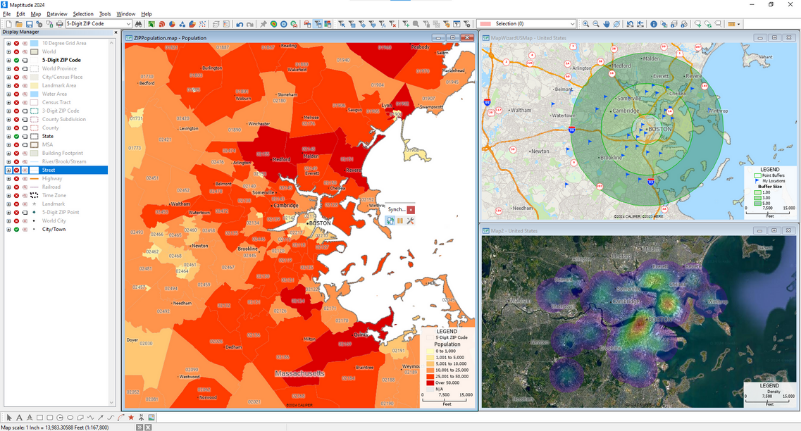
- Use the Display Manager to manage and customize the display of your map.
- Explore the self-help options provided by Maptitude, such as webinars and training sessions, to enhance your understanding of the software.
- If you prefer a hands-on approach, utilize the tutorial folder and help guide included with your Maptitude installation. These resources provide step-by-step instructions for using the main tools in the software.
- Open the Maptitude software and access the Maptitude Help section. In the Table of Contents, choose the Tutorial option and work through the parts of the tutorial that are relevant to your needs.
- If you have specific types of maps you want to create, such as pushpin maps, join your data to a map, general purpose maps, custom labels, custom styles, masks, selection sets/filters, customizing the legend, thematic mapping, drawing, background imagery, drive time rings, routing, territories, or buffers, refer to the corresponding tutorial videos provided by Maptitude.
Remember to consult the Maptitude Learning Portal and the resources available within the software for comprehensive guidance on using the mapping tools effectively.
For a beginner’s guide on using Maptitude, please see the Getting Started with Maptitude tutorial article.