Last Updated: March 5, 2025
A common problem people use Maptitude to solve is when they have a large number of customers they need to visit, but too many to visit on a single route. With the new Clustering tool in Maptitude 2020, you can split a large layer of points into clusters and then route each cluster separately.
To follow the steps in this article you will need:
- A map containing a point layer of stops you wish to divide into clusters
- The Clustering Add-in to be installed
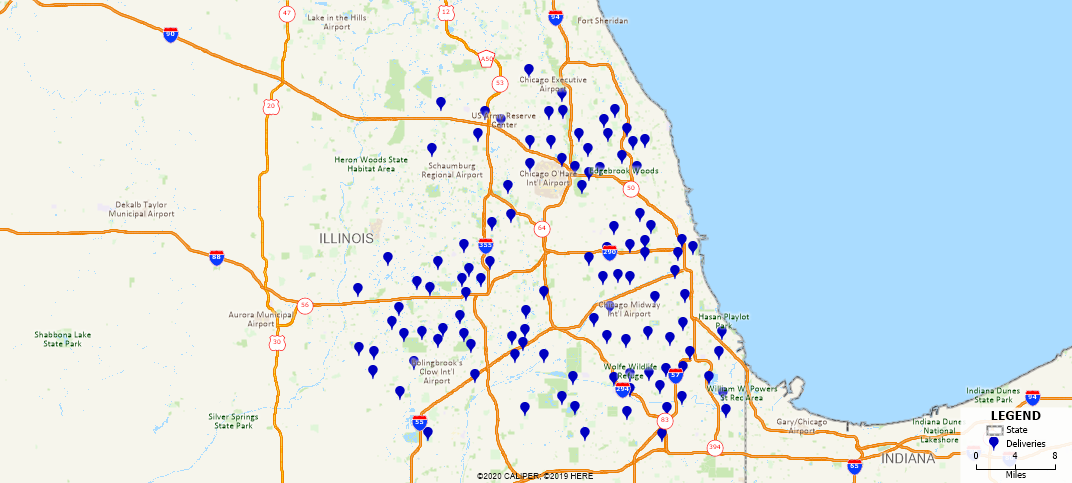
I will be using this layer of points around the Chicago area. My point layer is called Deliveries, and I want to split it into 4 clusters of equal size and then route them:
Step 1: Run the Clustering Wizard
- Go to Tools>GIS Developers Kit>Add-ins>Clustering Wizard in the main toolbar to open the Clustering Wizard
- For Layer to Cluster, set the Layer to be Deliveries and the Selection Set to be All Features. Click Next>
- For Method, choose Route and set the Route Type to Fastest. Click Next>
- Enter the number of clusters (e.g. 4) and set the Balancing to Number of Points. Click Next>
- Click Finish
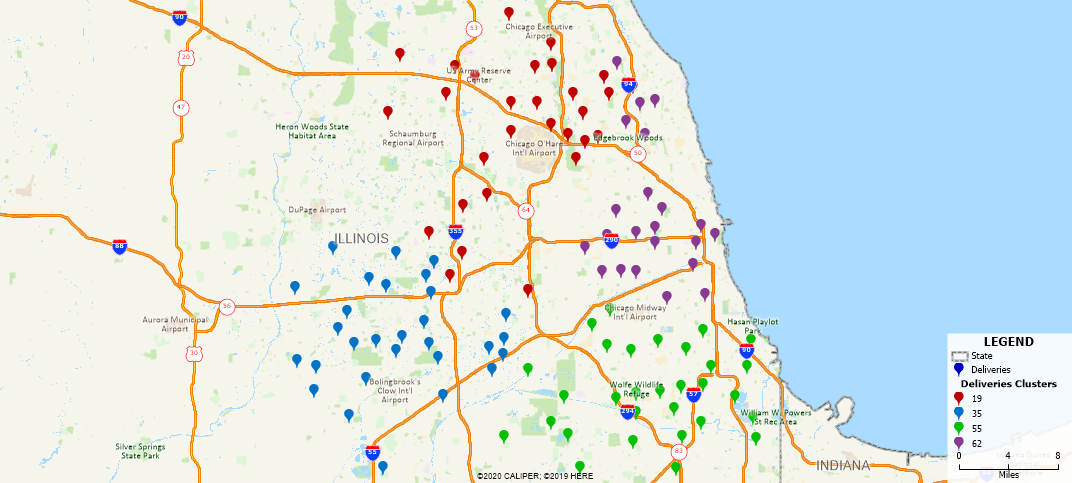
Maptitude will examine the points in your layer and group them into clusters of points that are close together such that each cluster has roughly the same number of points. A color theme will be applied to the Deliveries layer, coloring each point based on its assigned cluster.
Step 2: Creating the Selection Sets
To build routes out of the clusters, we need to convert the color theme into selection sets.
- Make sure Deliveries is the working layer
- Go to Selection>Select by Theme in the main toolbar
- Click OK and click Yes. Nothing will change visually in the map, but the Color Theme has now been converted into Selection Sets
- Go to Selection>Settings in the main toolbar
- You will see a list of the sets on this layer, including one for each of the clusters. For each cluster, highlight it and click Rename. Type in an appropriate name for that cluster and click OK
- Click Close
Now we have a layer of points divided into appropriate Selection Sets from which we can build routes.
This article discusses how you can create these routes and show them on the same map.