You create a sales territory hierarchy map using sales territory mapping software.
A territory hierarchy allows your organization to manage multiple levels of territories in a single map.
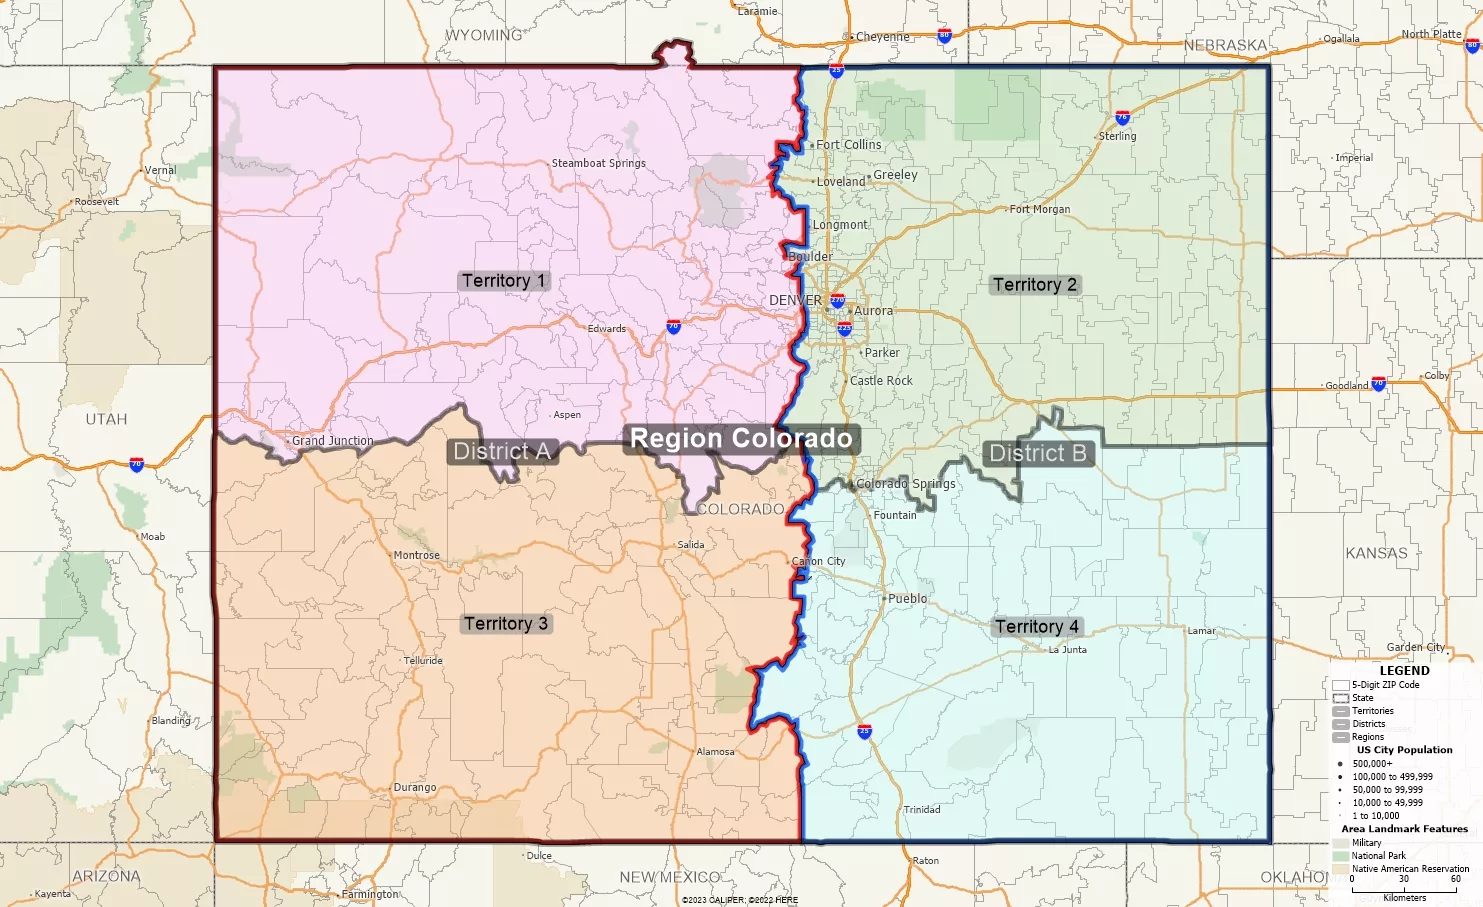
For example, your organization can have ‘Regions’, which are split into ‘Districts’, which are split into ‘Territories’.
In this case, the first level of the hierarchy would be the ‘Territories’ which are the smallest geographic area.
Create the Territories for the First Level of the Hierarchy
- From the Home Window, choose New map of my territory data/table and click OK.
- Follow the steps in this video to create several territories for the ‘Territories’ layer. Make sure to Create Territories Interactively from areas in a map.
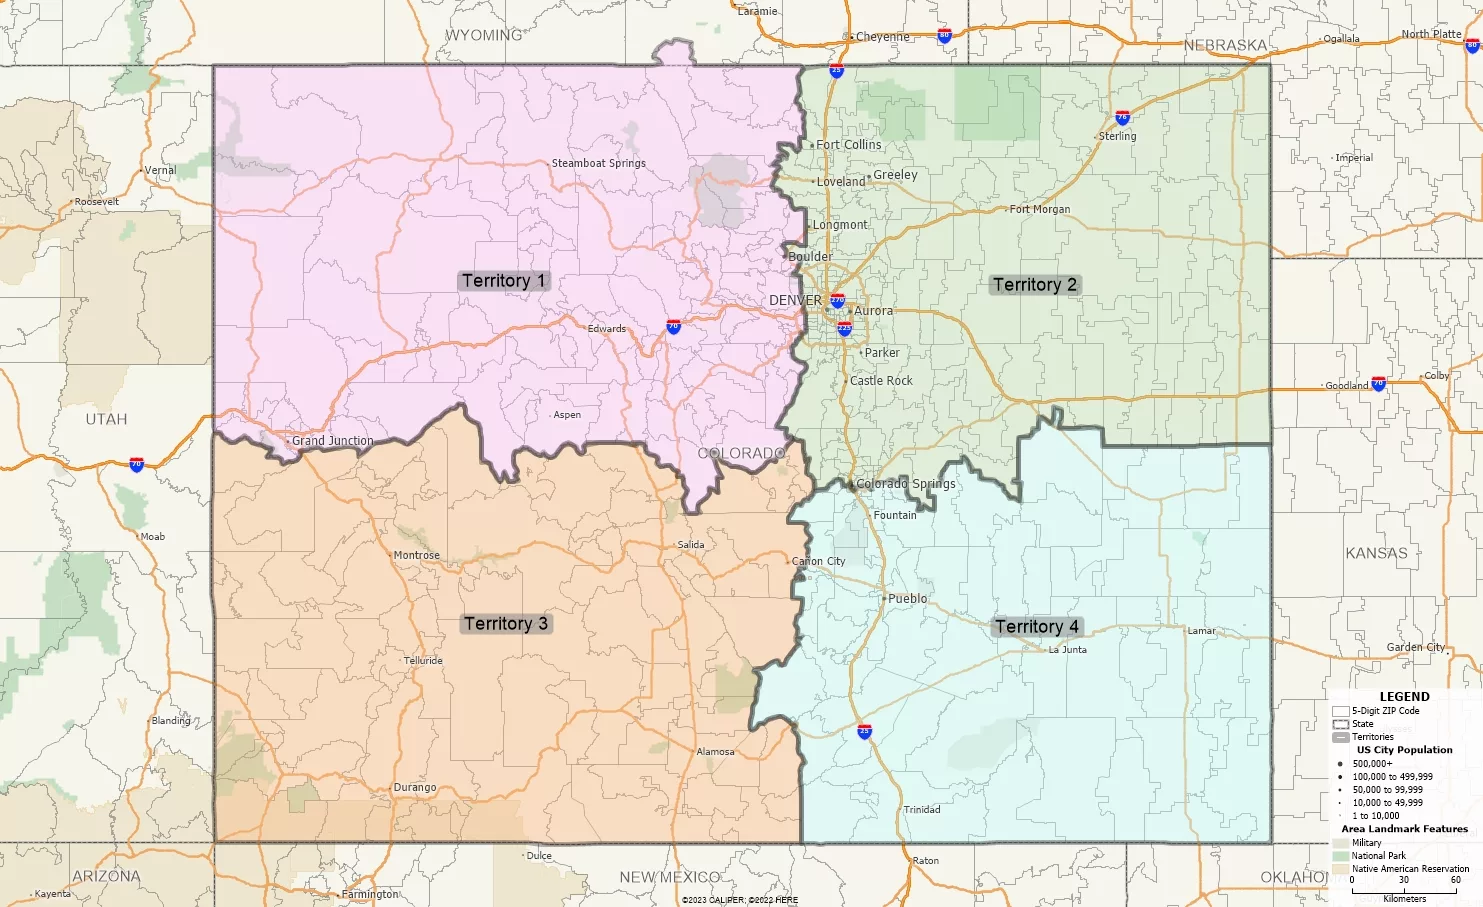
Create the Territories for the Higher Levels in the Hierarchy
- In the same workspace, go to Map>New Territory Layer.
- Choose Interactively from areas in a map and click Next.
- Change the Geography Layer to the Territories layer and the Geography Field to Territory.
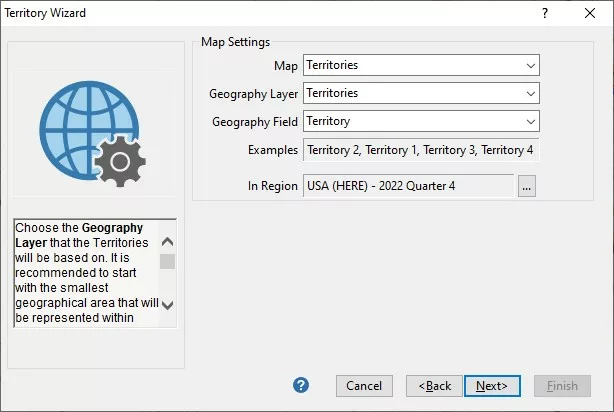
- Click Next, specify the Tracking Fields you would like to see, and click Finish.
- Rename the newly created territories layer by right clicking ‘Territories:1’ in the Display Manager, choosing Rename, and type in ‘Districts’.
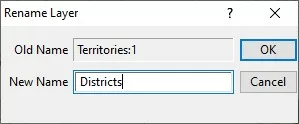
- You can now use the Territory Manager to select areas in the ‘Territories’ layer to create ‘Districts’.
- You can repeat steps 1 through 6 to create additional levels in your territory hierarchy.
Change the Level that the Territory Manager is Showing
- Close the Territory Manager by clicking the X button in the top right of the pane or going to Map>Territory Manager Toolbar.
- Reopen the Territory Manager by going to Map>Territory Manager Toolbar.
- Choose the level that you would like to have shown in the Territory Manager.
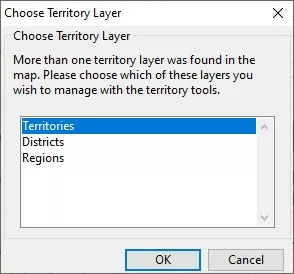
Optionally, you may want to apply a border style to the upper levels of your territory hierarchy.
This allows you to see the territories in the lower levels of your territory hierarchy.
- In the Territory Manager, go to Options>Territory Layer Settings.
- Go to the Map tab and change the Fill coloring drop down to Border coloring.
- You can also change the thickness of the border by clicking the shape above the Border coloring
After following the steps in this article, your map may look something like this:
When making changes to the territories, please be sure to go to Options>Check for Errors in the Territory Manager to ensure the territory hierarchy is updated.
For more guidance on managing your territories, please see this video tutorial.
If you are looking to combine territories from multiple countries, please see this tutorial.